Focal length: ~50mm, selective focus lens
Mount: Canon
Min focus distance: 0.40m
Aperture: F 2.0 - F 22 via insertable disks
Length (from flange): 52mm [+ 27mm for the adapter]
Diameter: 60mm
Weight: 117gr.
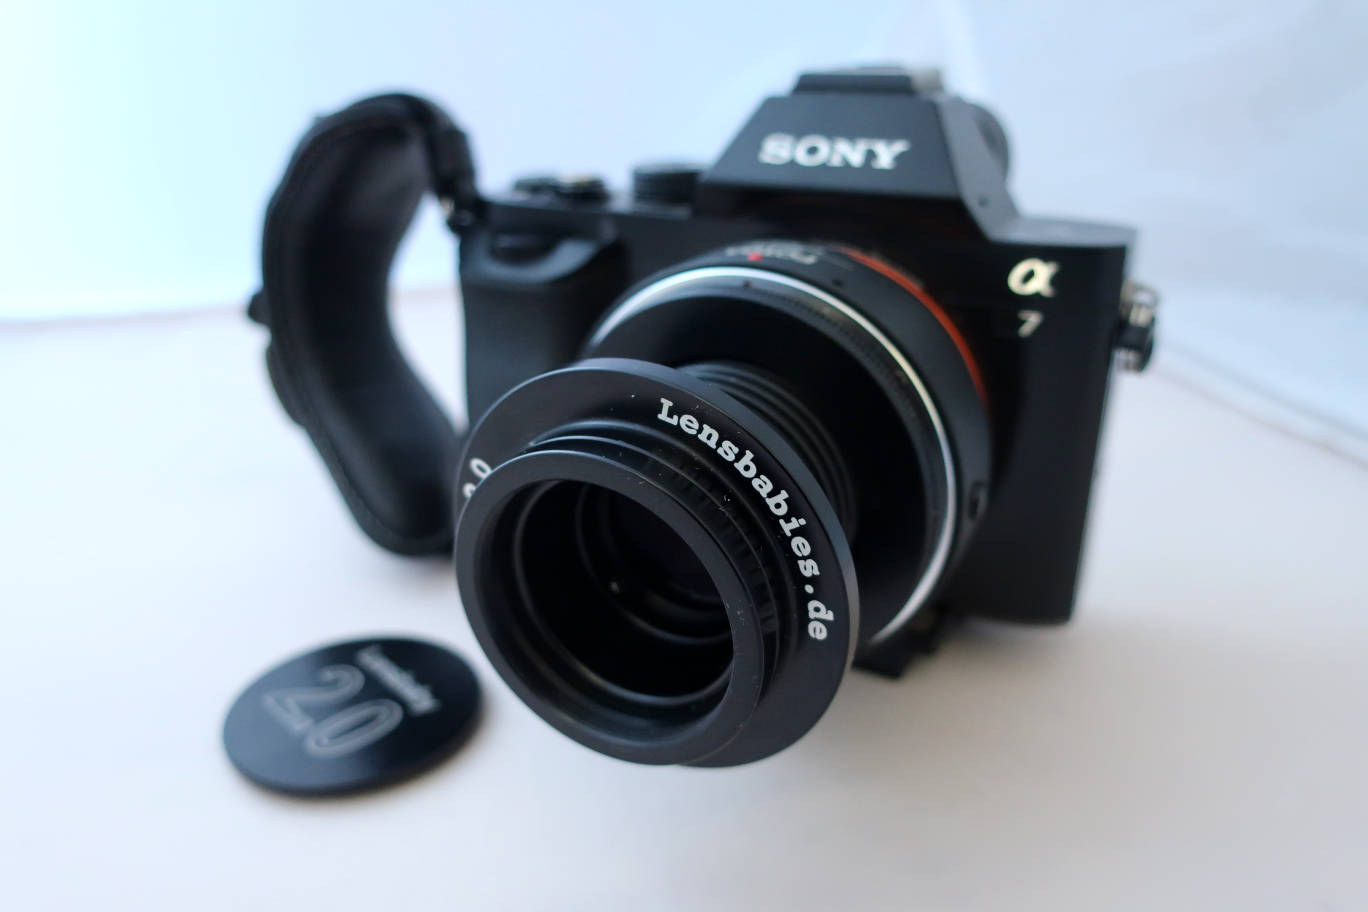
Some pictures:

A7 and the lens.
Some general remarks about Lensbabies. The first Lensbaby was a simple plastic lens in
a simple PVC tube which has to be squeezed to focus and/or bent to move
the sharp area. The lenses are
set to be sharp only at the center, the rest is blurred, simulating
perfectly a "bokeh" effect. The sharp spot (called sweet spot) can be
shifted sideways. They cover full
format. The lenses are soft to blurry at full
aperture. Closed down they becoming sharper, but retain blurred edges.
The idea was a great success. Now there are plenty of different systems
and a wide choice of accessories and even swappable lenses.

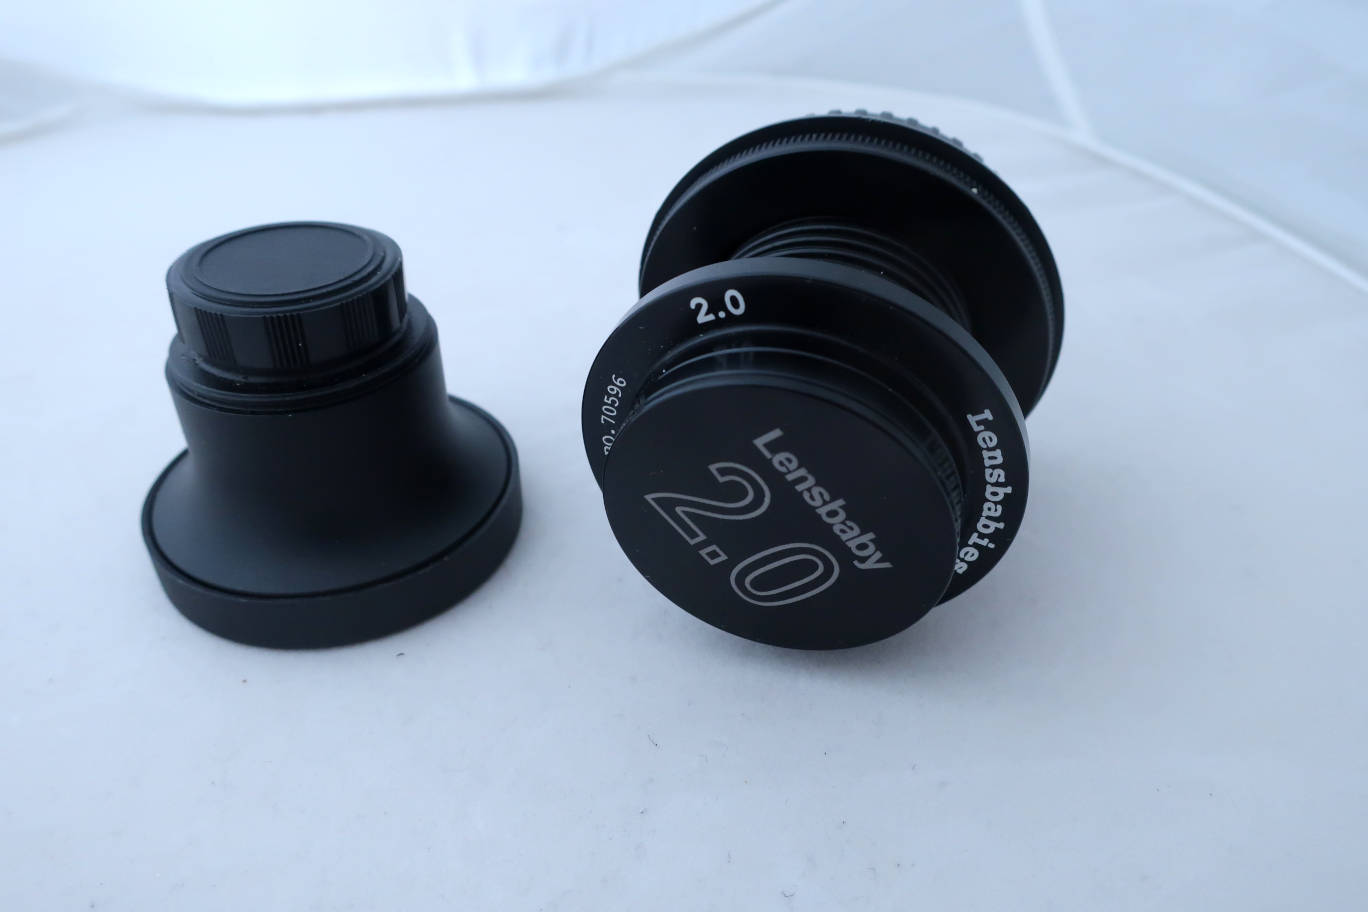
From right to left: Lensbaby 2.0, close to the first Lensbaby, fixed lens, but glass, not plastic, presented here. 3G,
similar to 2.0, but bending and sqeezing can be done precisely and
stays so until you push the release button. It has also a focus thread
for precise focussing. Control freak, a 3G with swappable lenses. Composer Pro, has a ball-joint type tube to move the sweet spot, swappable lenses and a focus ring. Scout, rigid tube, no bending, swappable inserts, focus ring, often sold with a fisheye lens.
The lens sits deep inside.
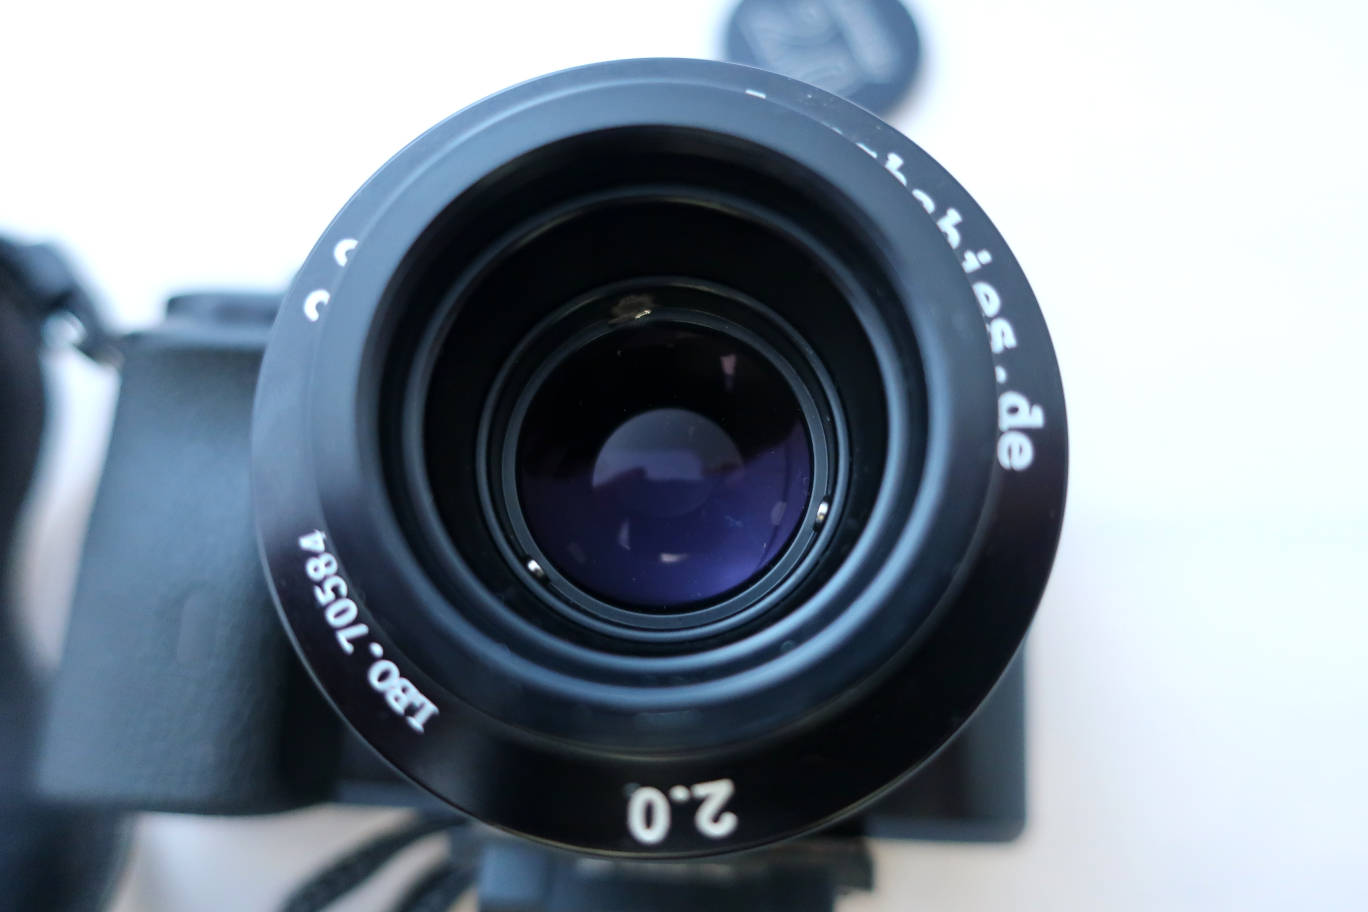
It'a a 2-element coated lens with magnetic holders in front of it..
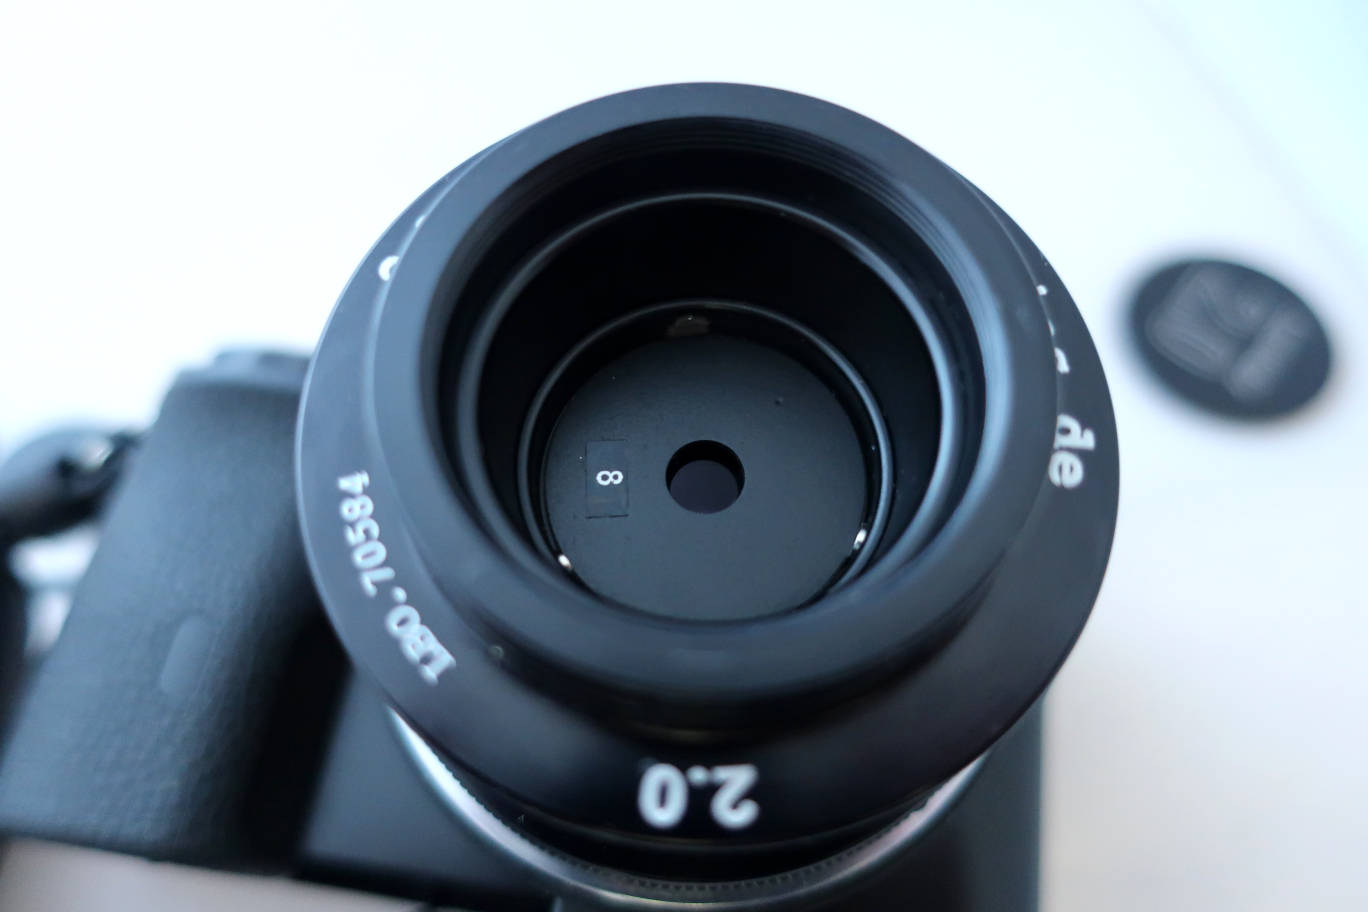
The aperture disks have to be put in front of the lens and are held by
the magnets.
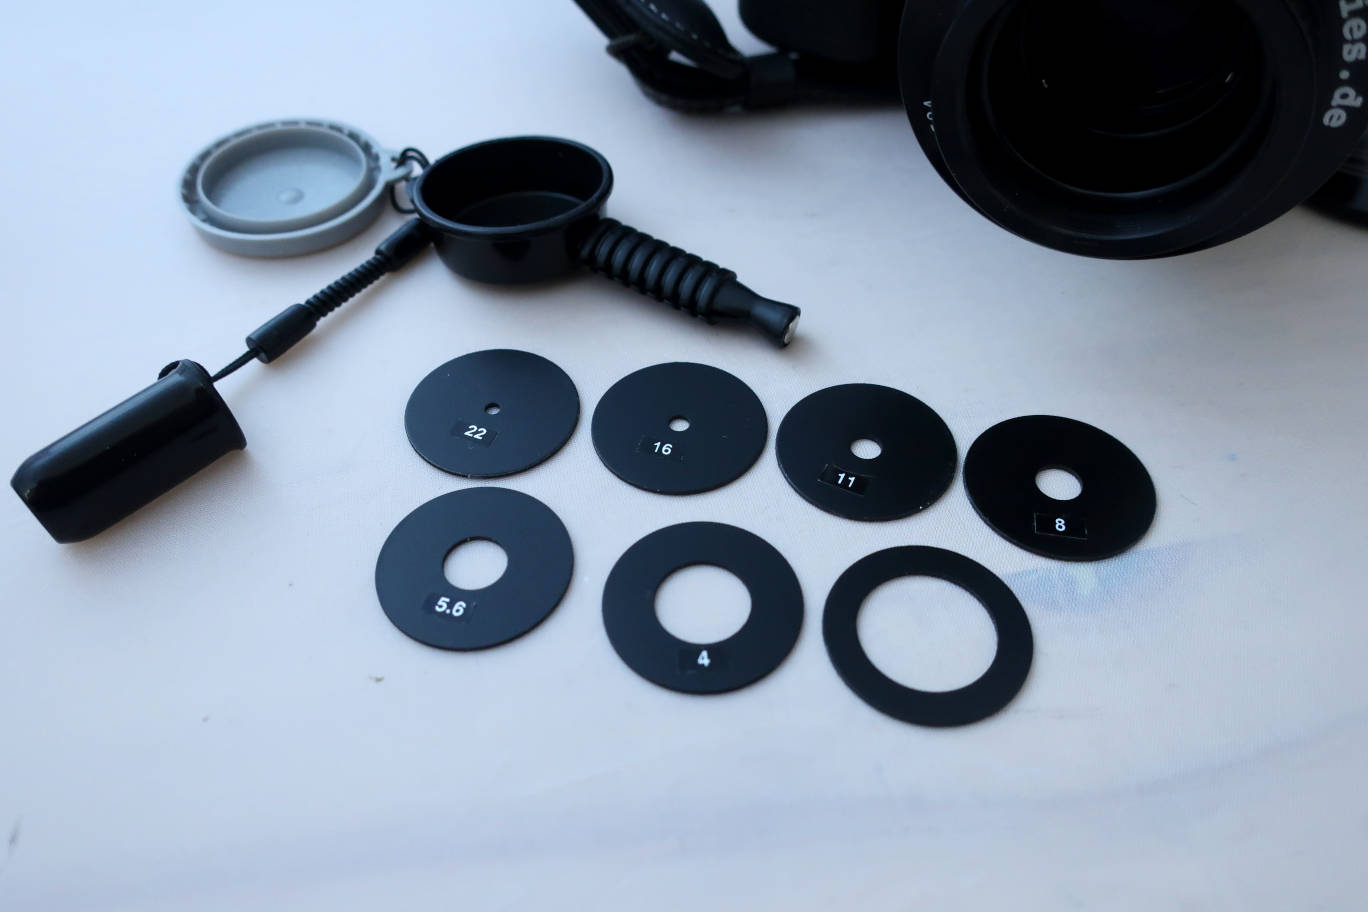
This is a full 7-aperture set with a very handy magnetic tool to change
the disks. The 2.0 lens is originally delivered with 4 disks (up to F8) and a lenspen
tool to pry the disks off.
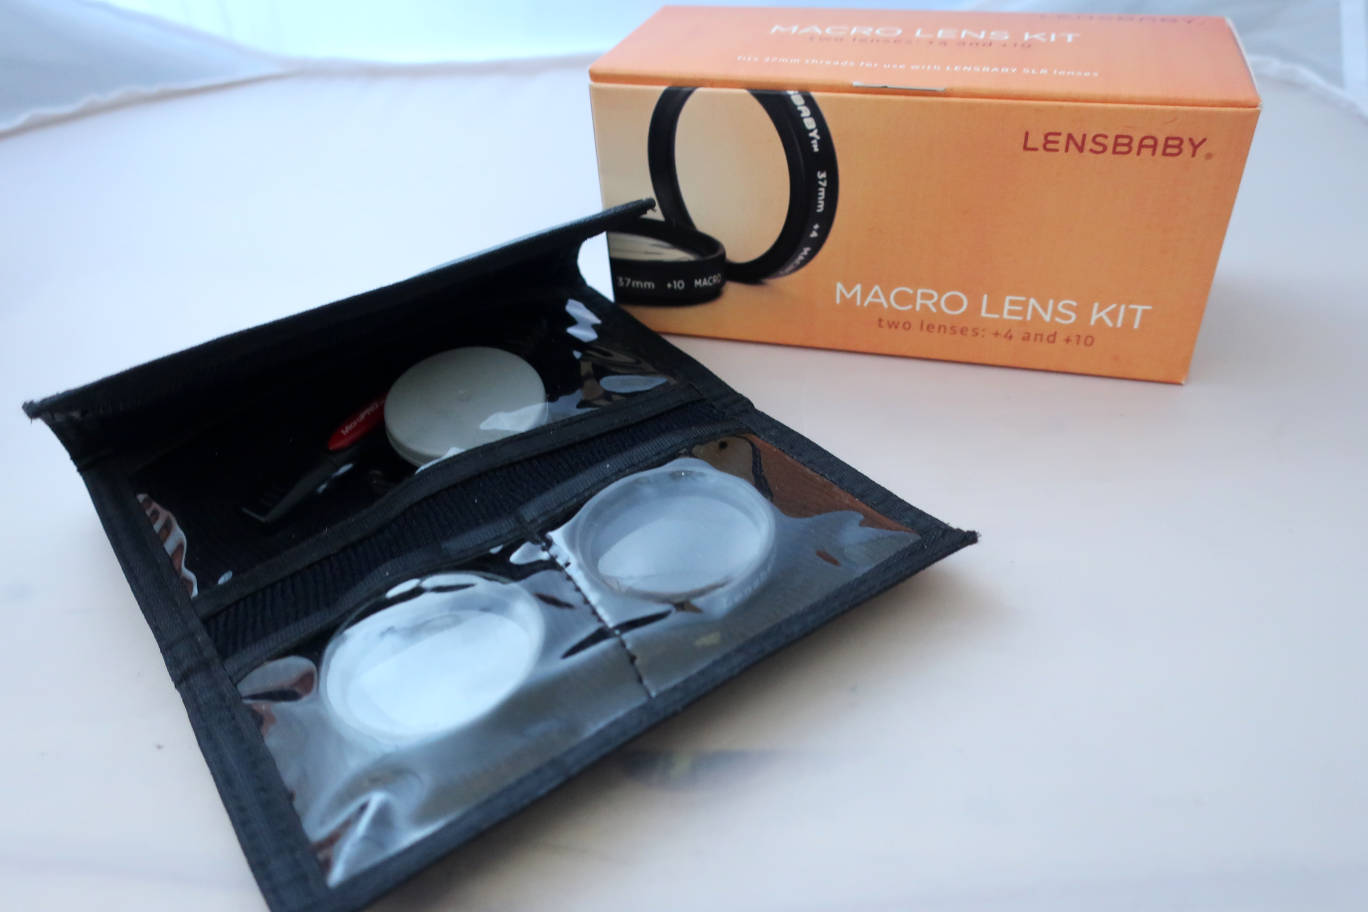
A macro lens set.
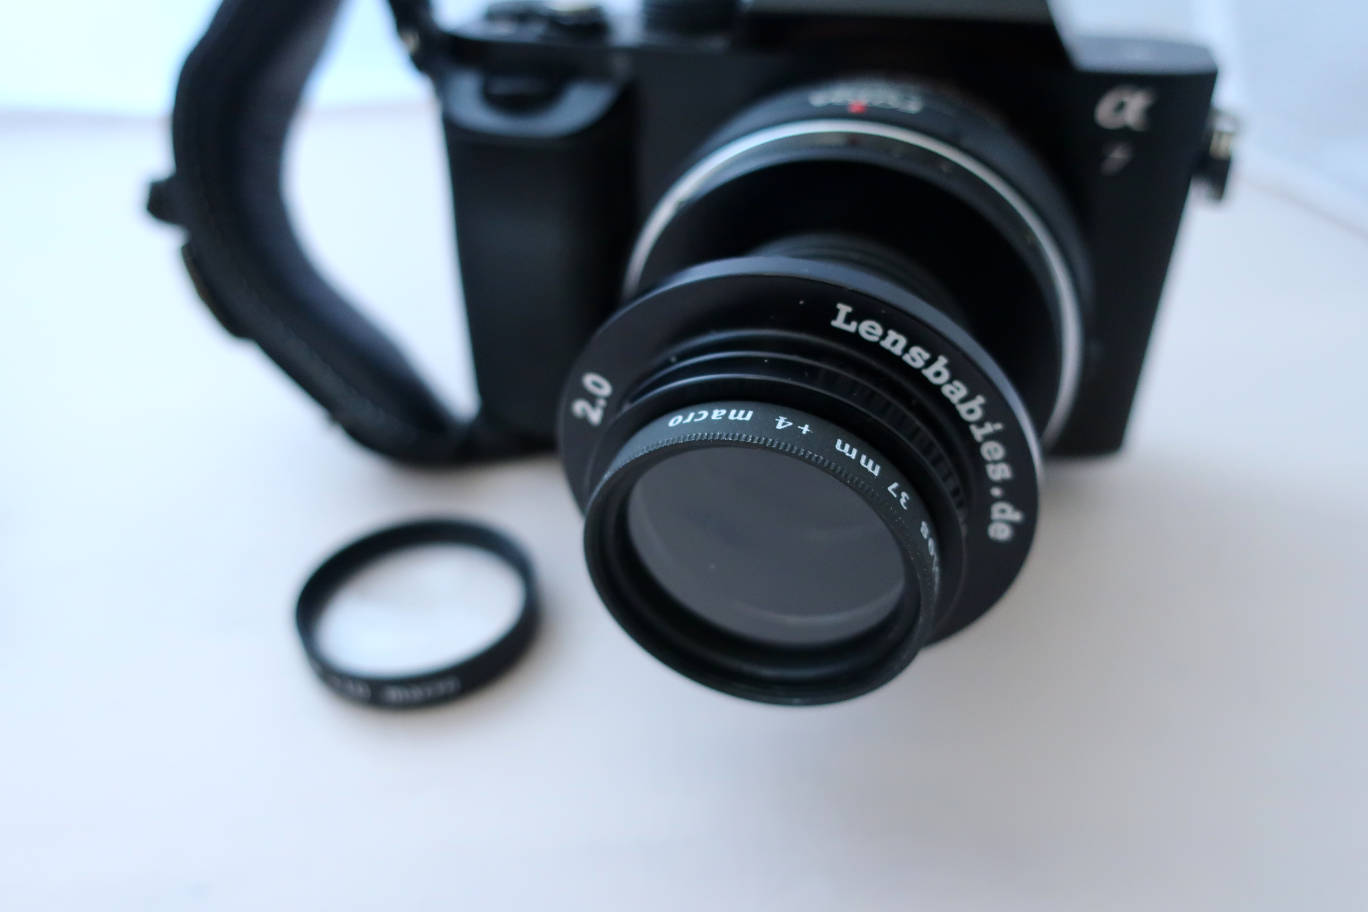
The lens is screwed into the 37mm thread in front of the lens.
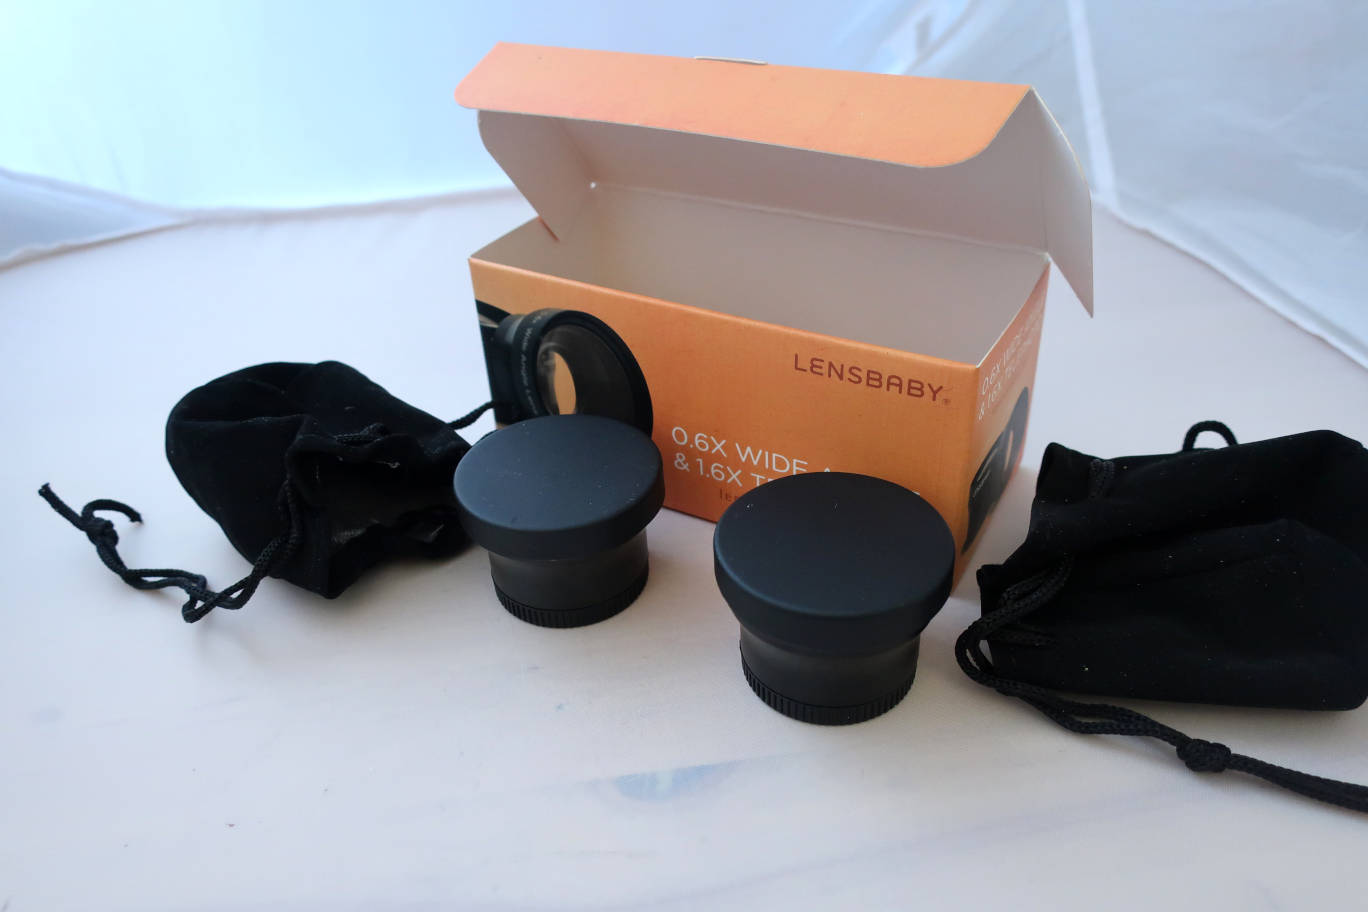
A Tele and Wide set with their pouches.
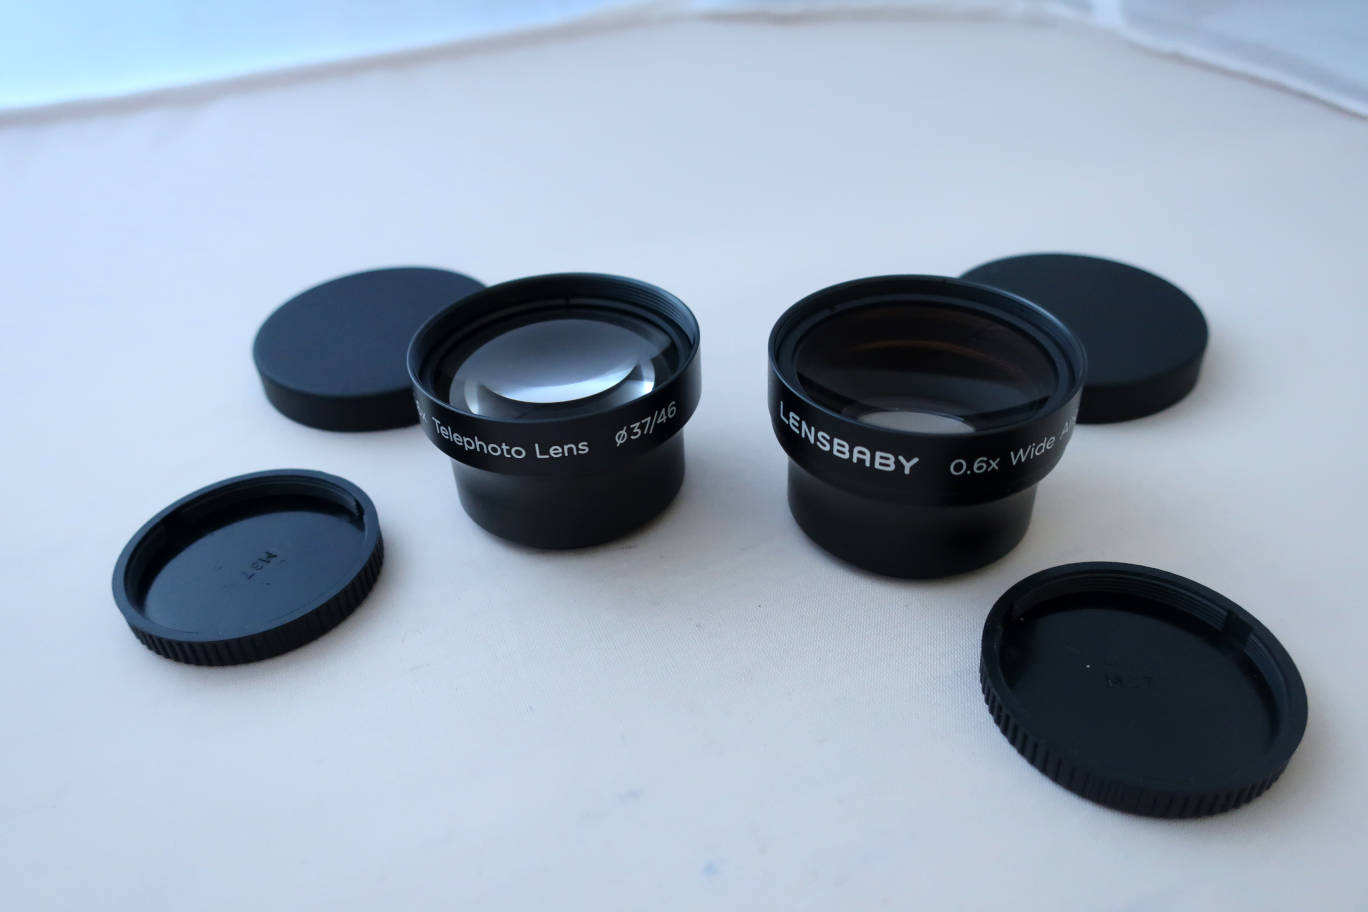
Both lenses fit into the thread in front of the lensbaby. 0.6 is the
factor of the wide lens. If the standard lens is 50mm, the wide lens
makes it a 30mm. 1.6 is the factor of the tele lens, so it makes a 50mm
lens an 80mm.
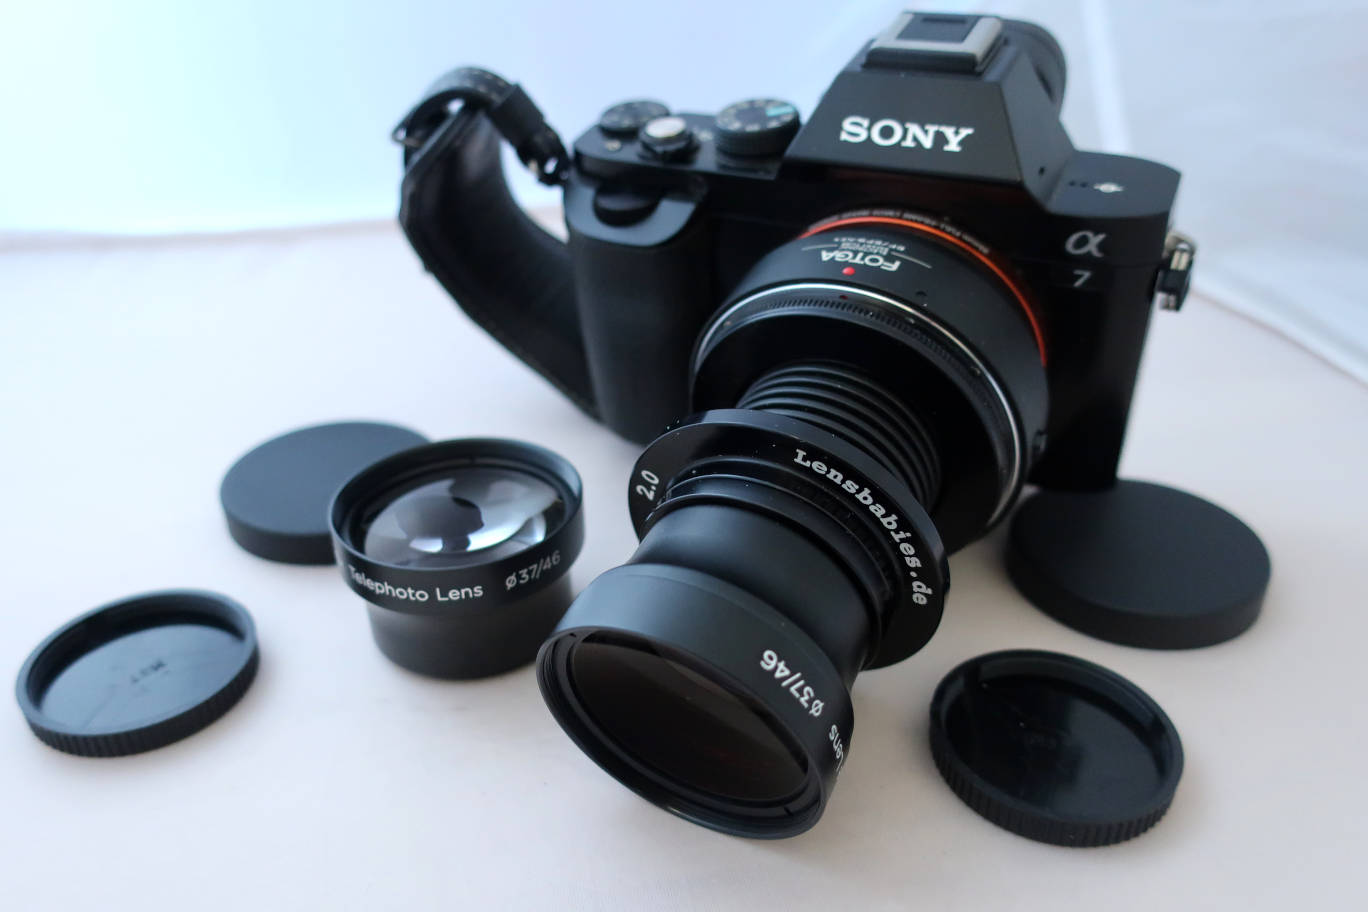
Wide lens mounted.
There is also a ultrawide lens available.
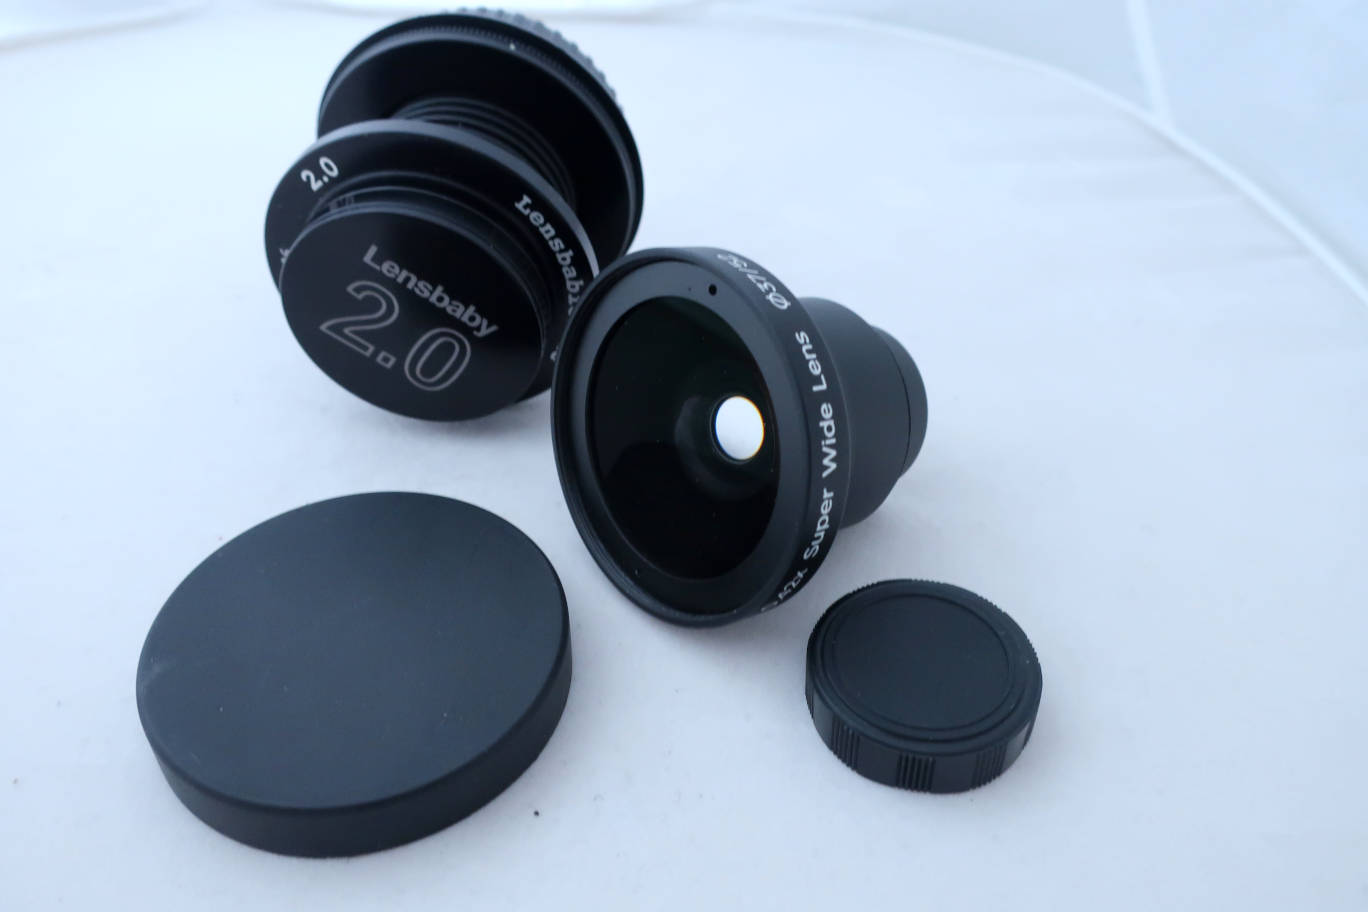
It comes with rubber caps on both sides.
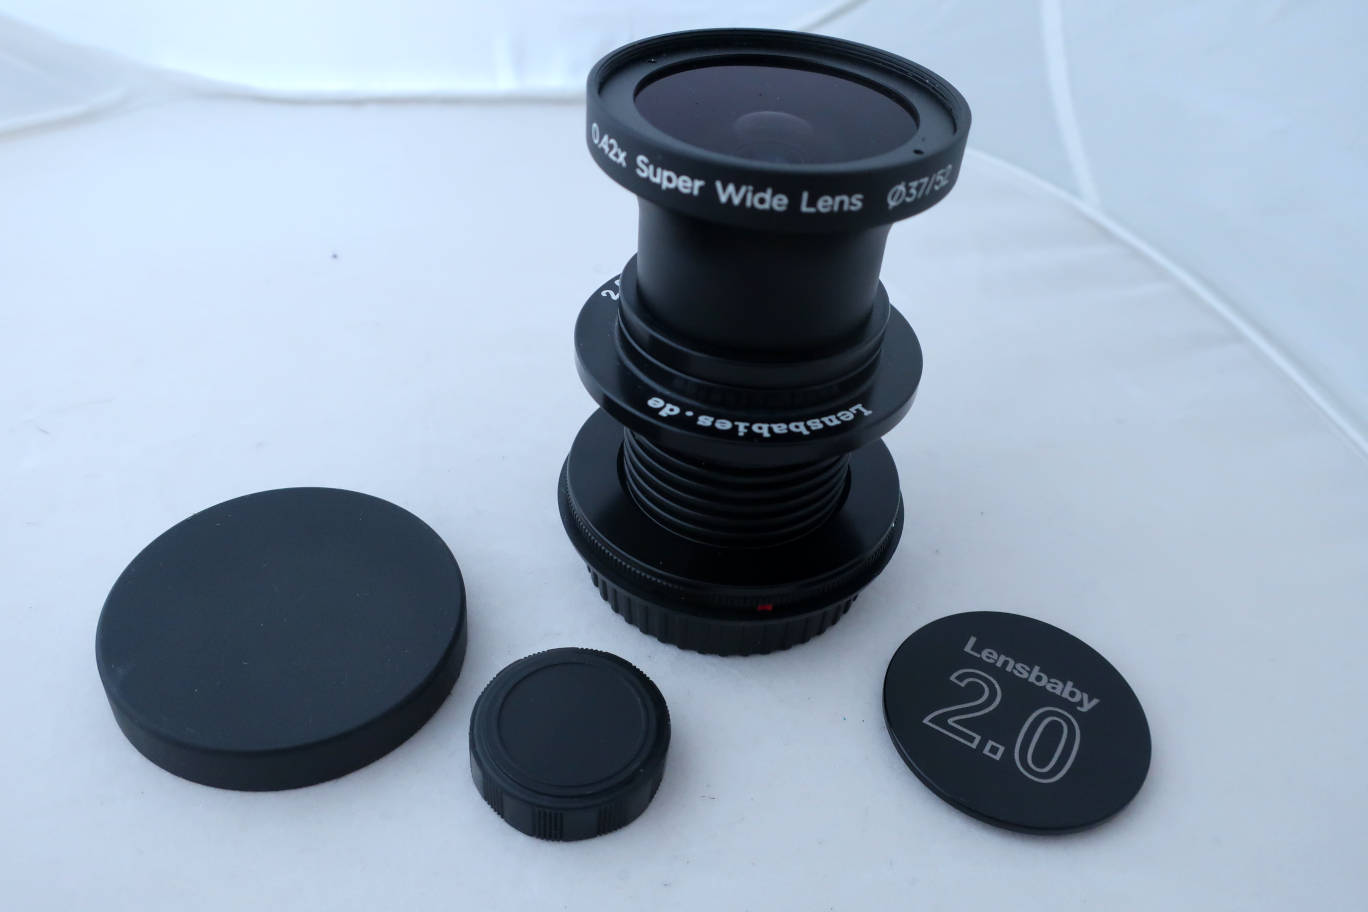
The lens fits into the thread in front of the lensbaby. 0.42 is the
factor, so it makes a 50mm lensbaby a 21mm which is quite wide.
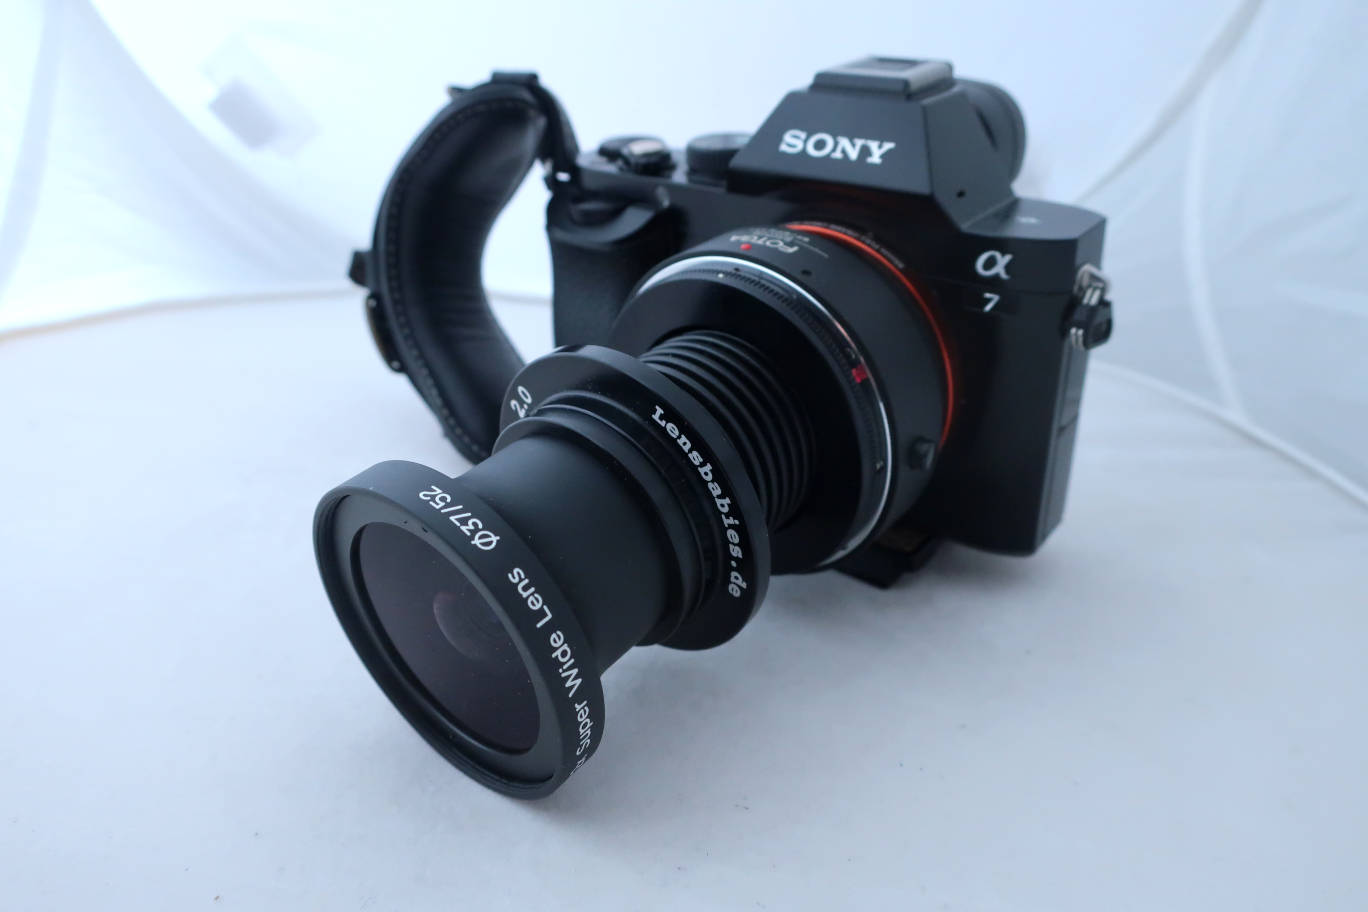
Both mounted. Sample photos will be on the Lensbaby Composer Pro page.
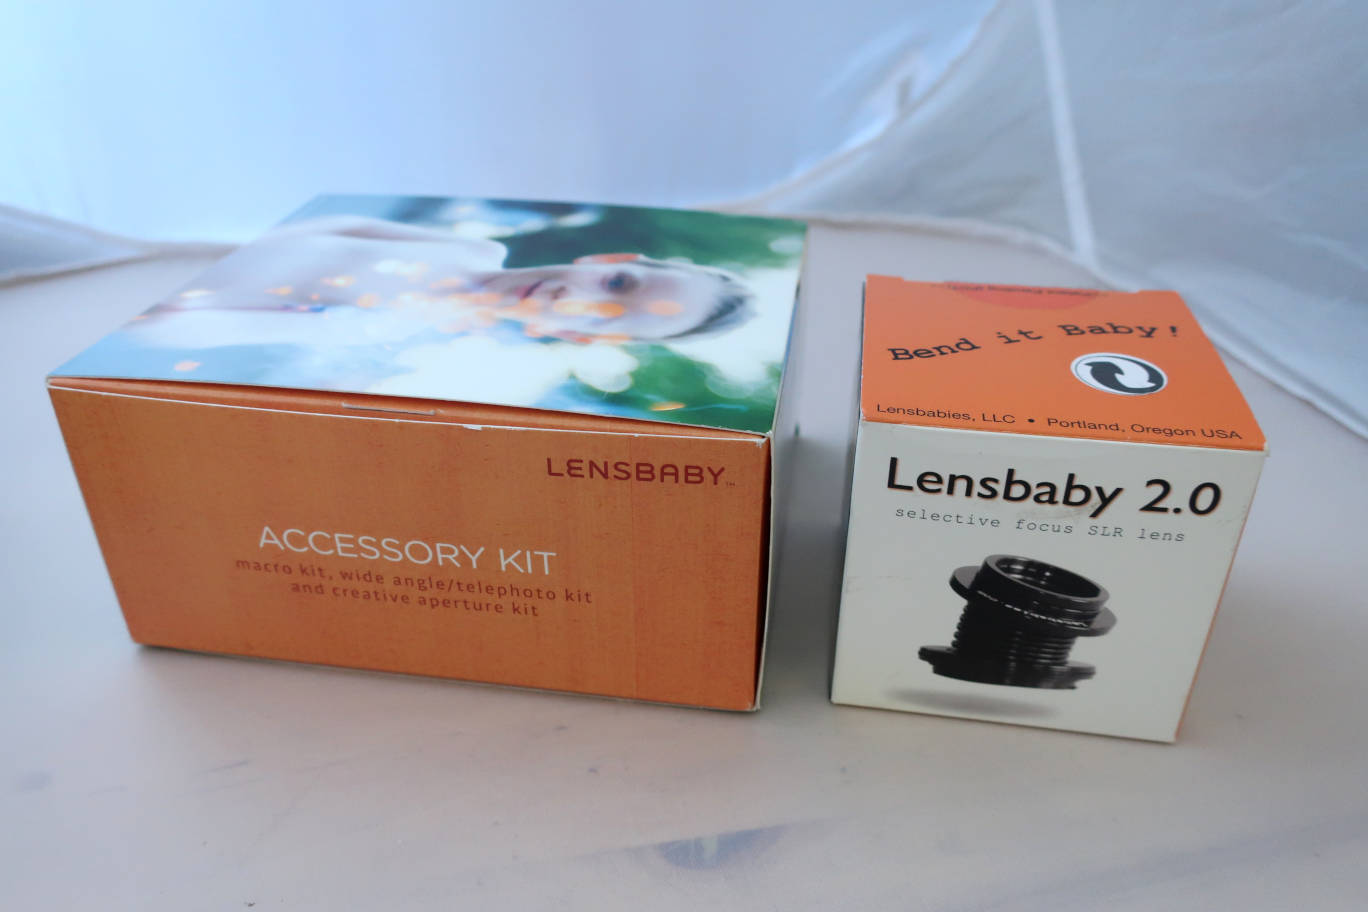
Lens and Accessory kit.

What's in the box.
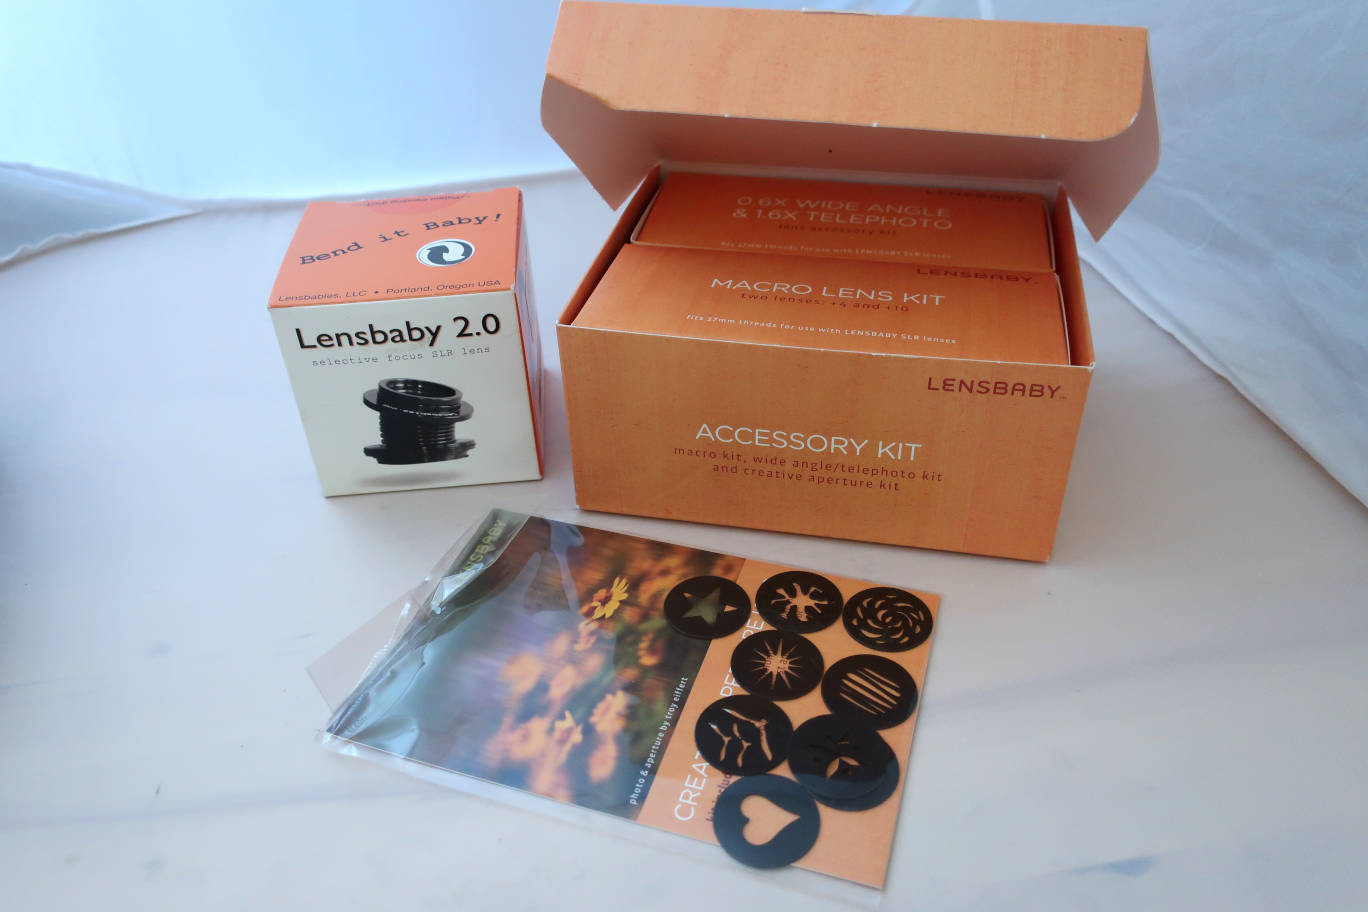
Accessory box and "creative" aperture disks.
If yo are interested, how the Lensbaby 2.0 disassembles: at the end of the page there are 2 pictures.
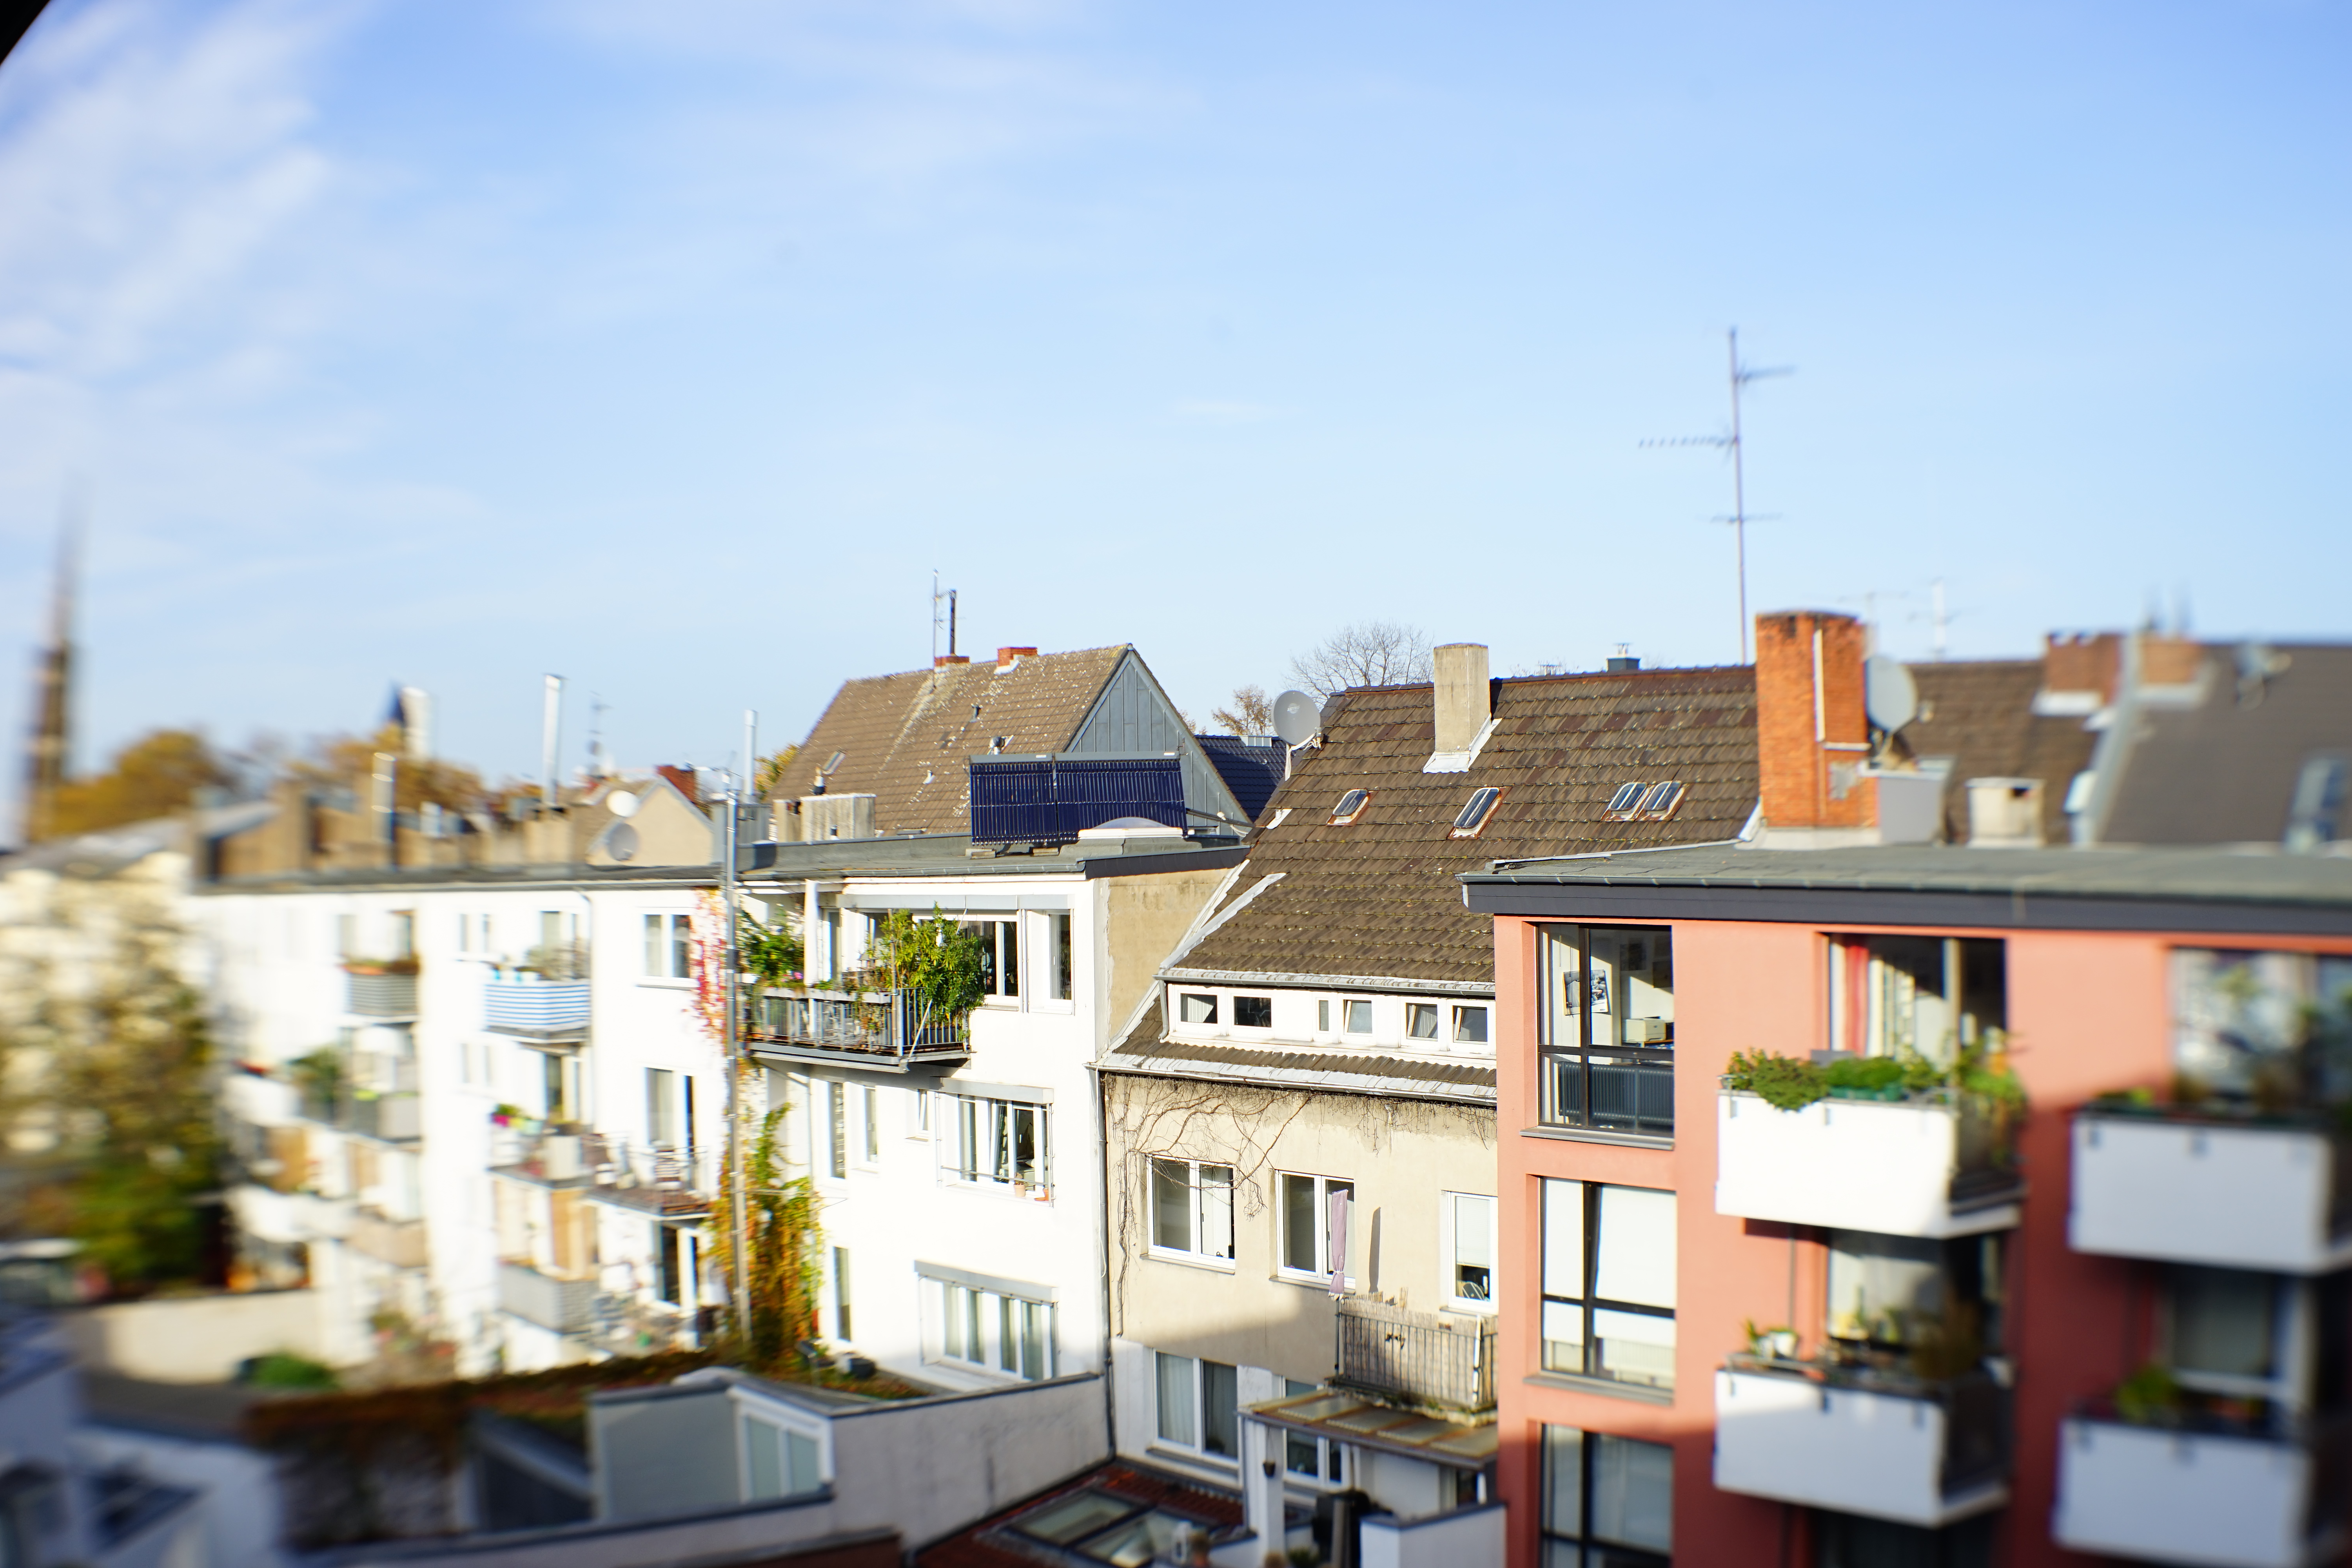
Sample pictures: You may click
on the sample image (except closest focus) for full resolution. The
full resolution image opens in a new window, so you can keep it open
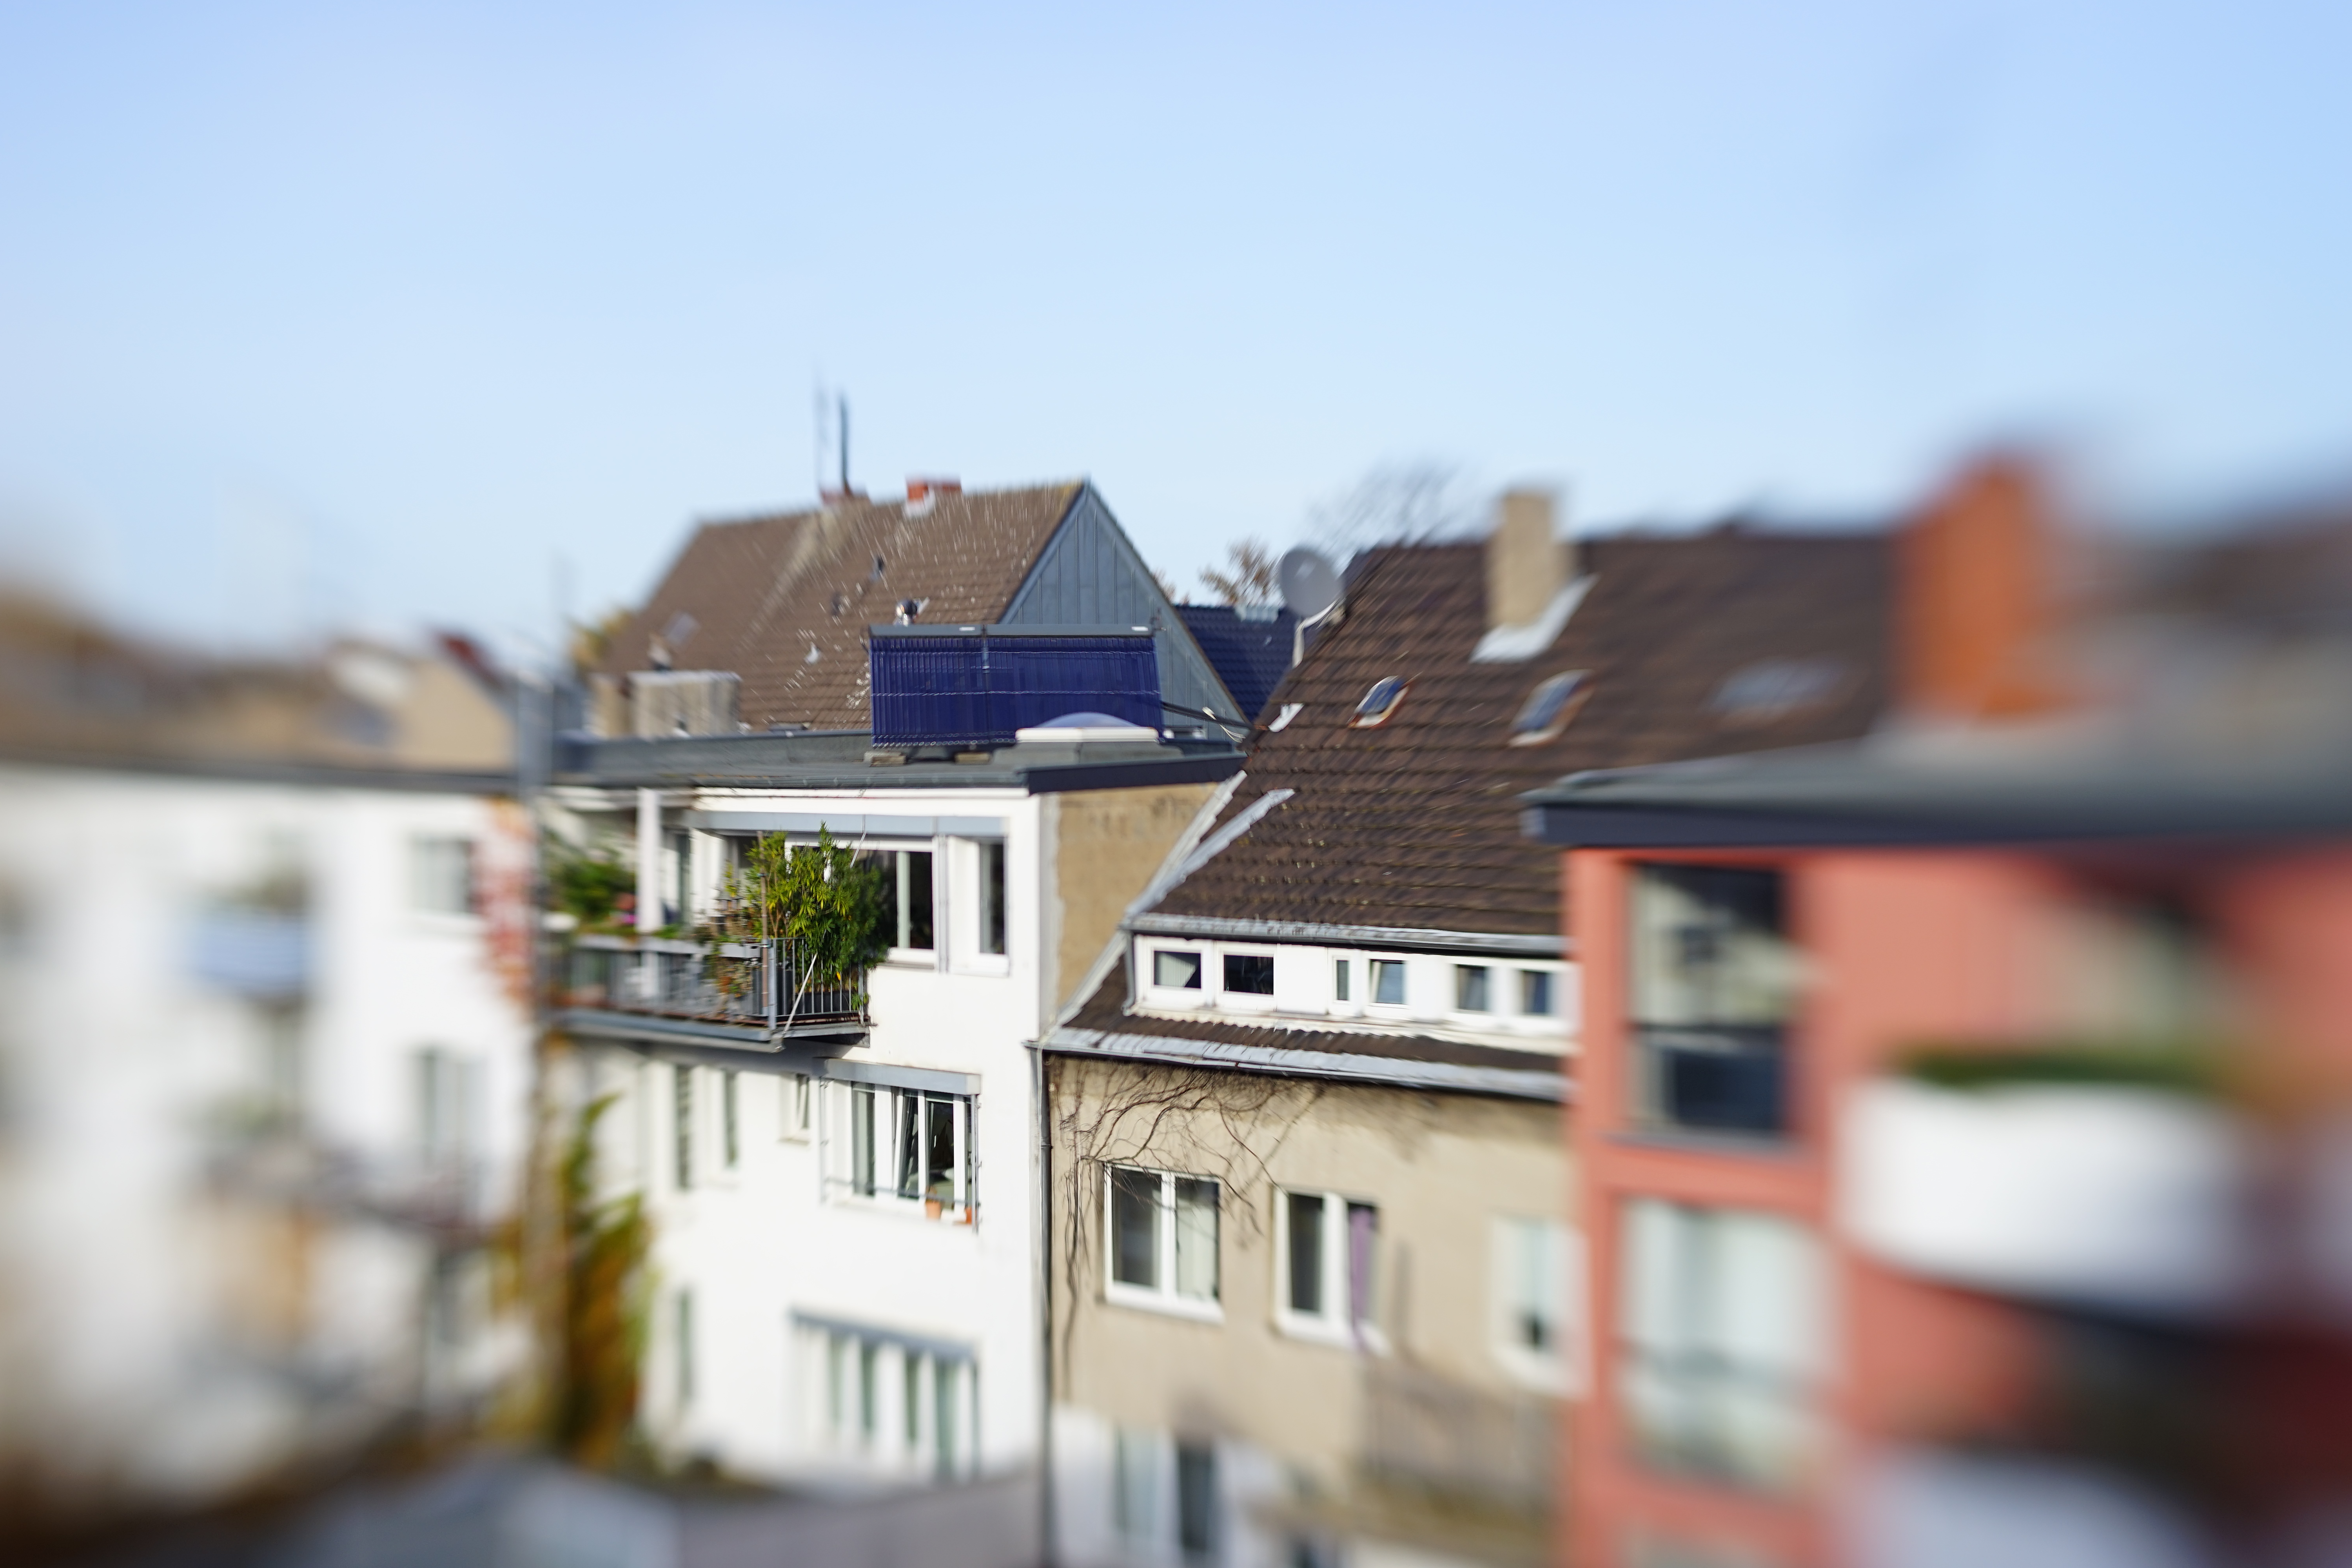
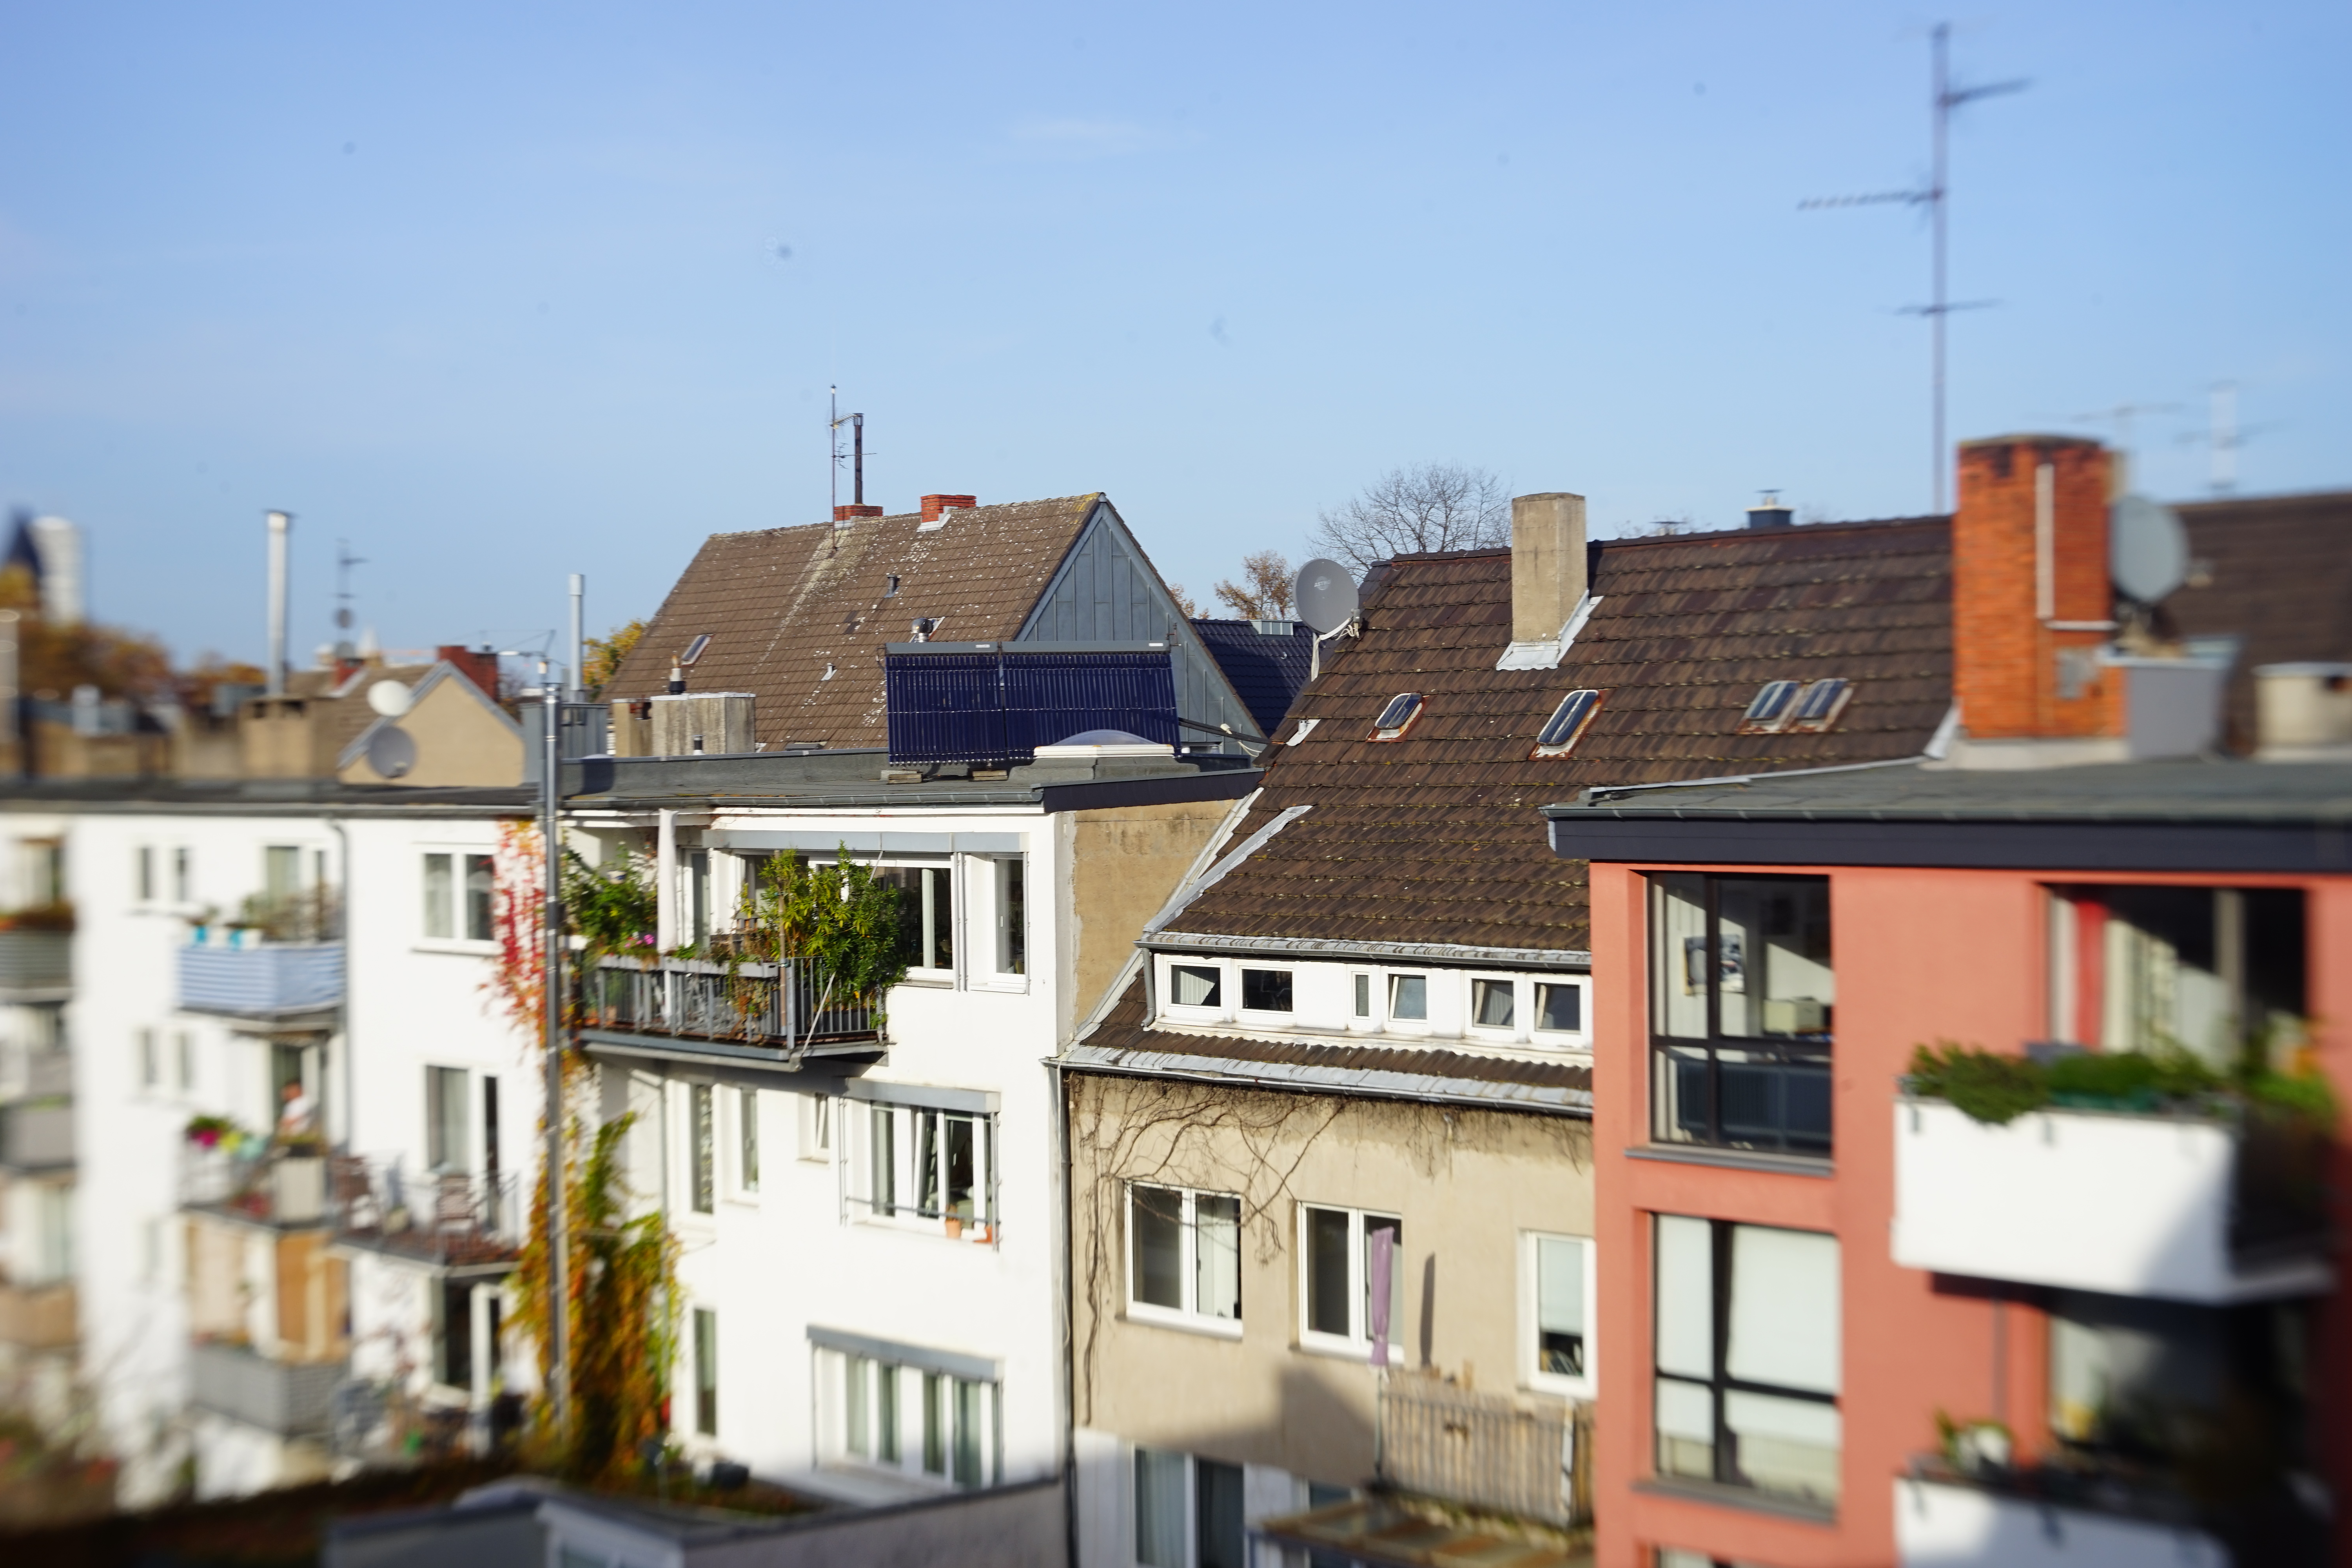
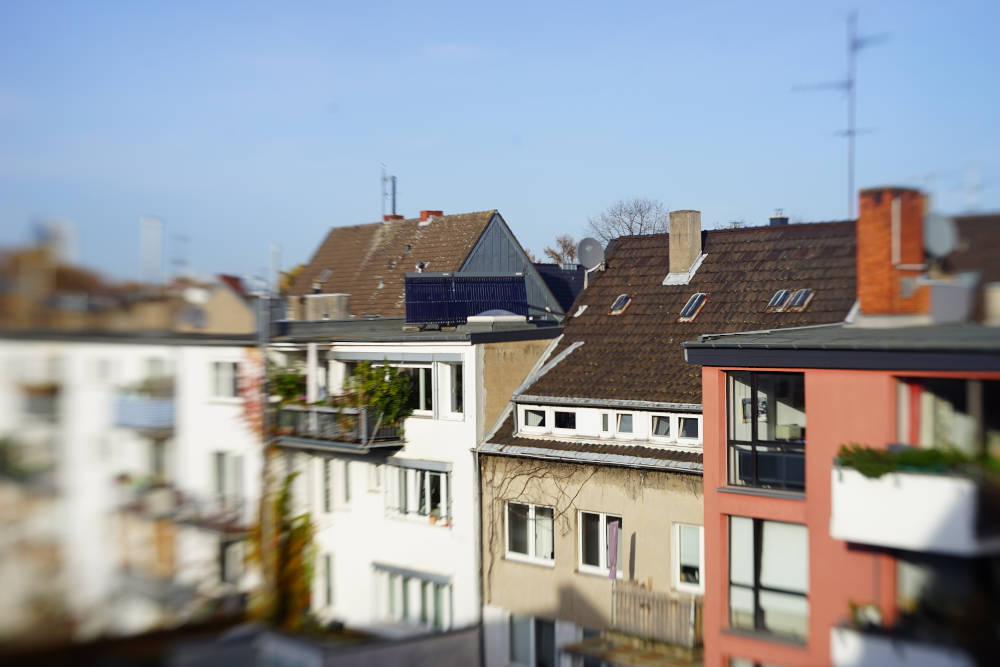
for comparison. I tried to focus is on the the
big solar panel near the center of the photo.
Let us start with an aperture series.
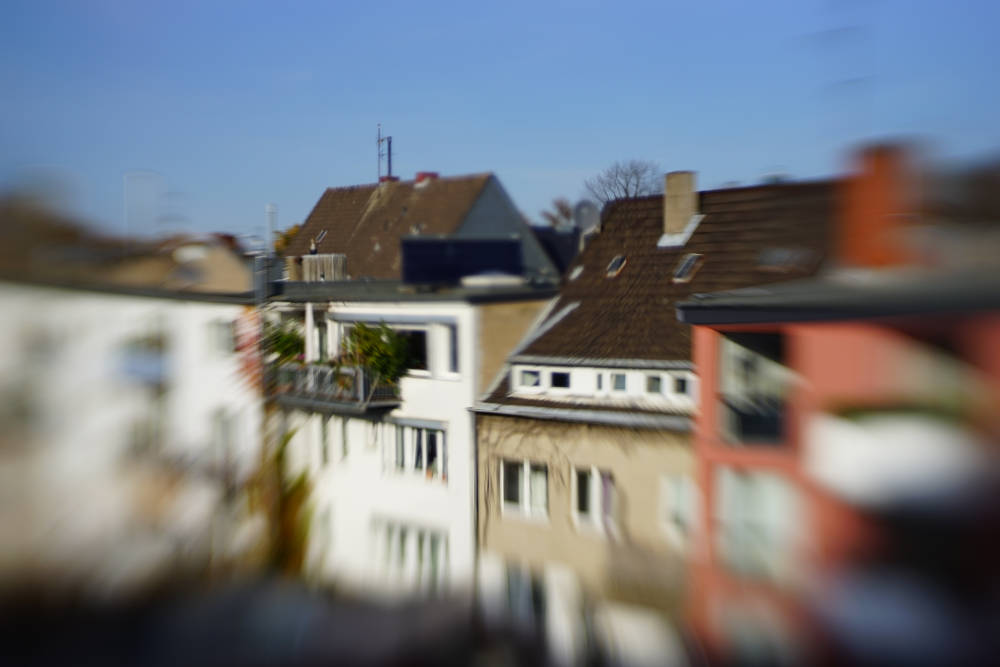
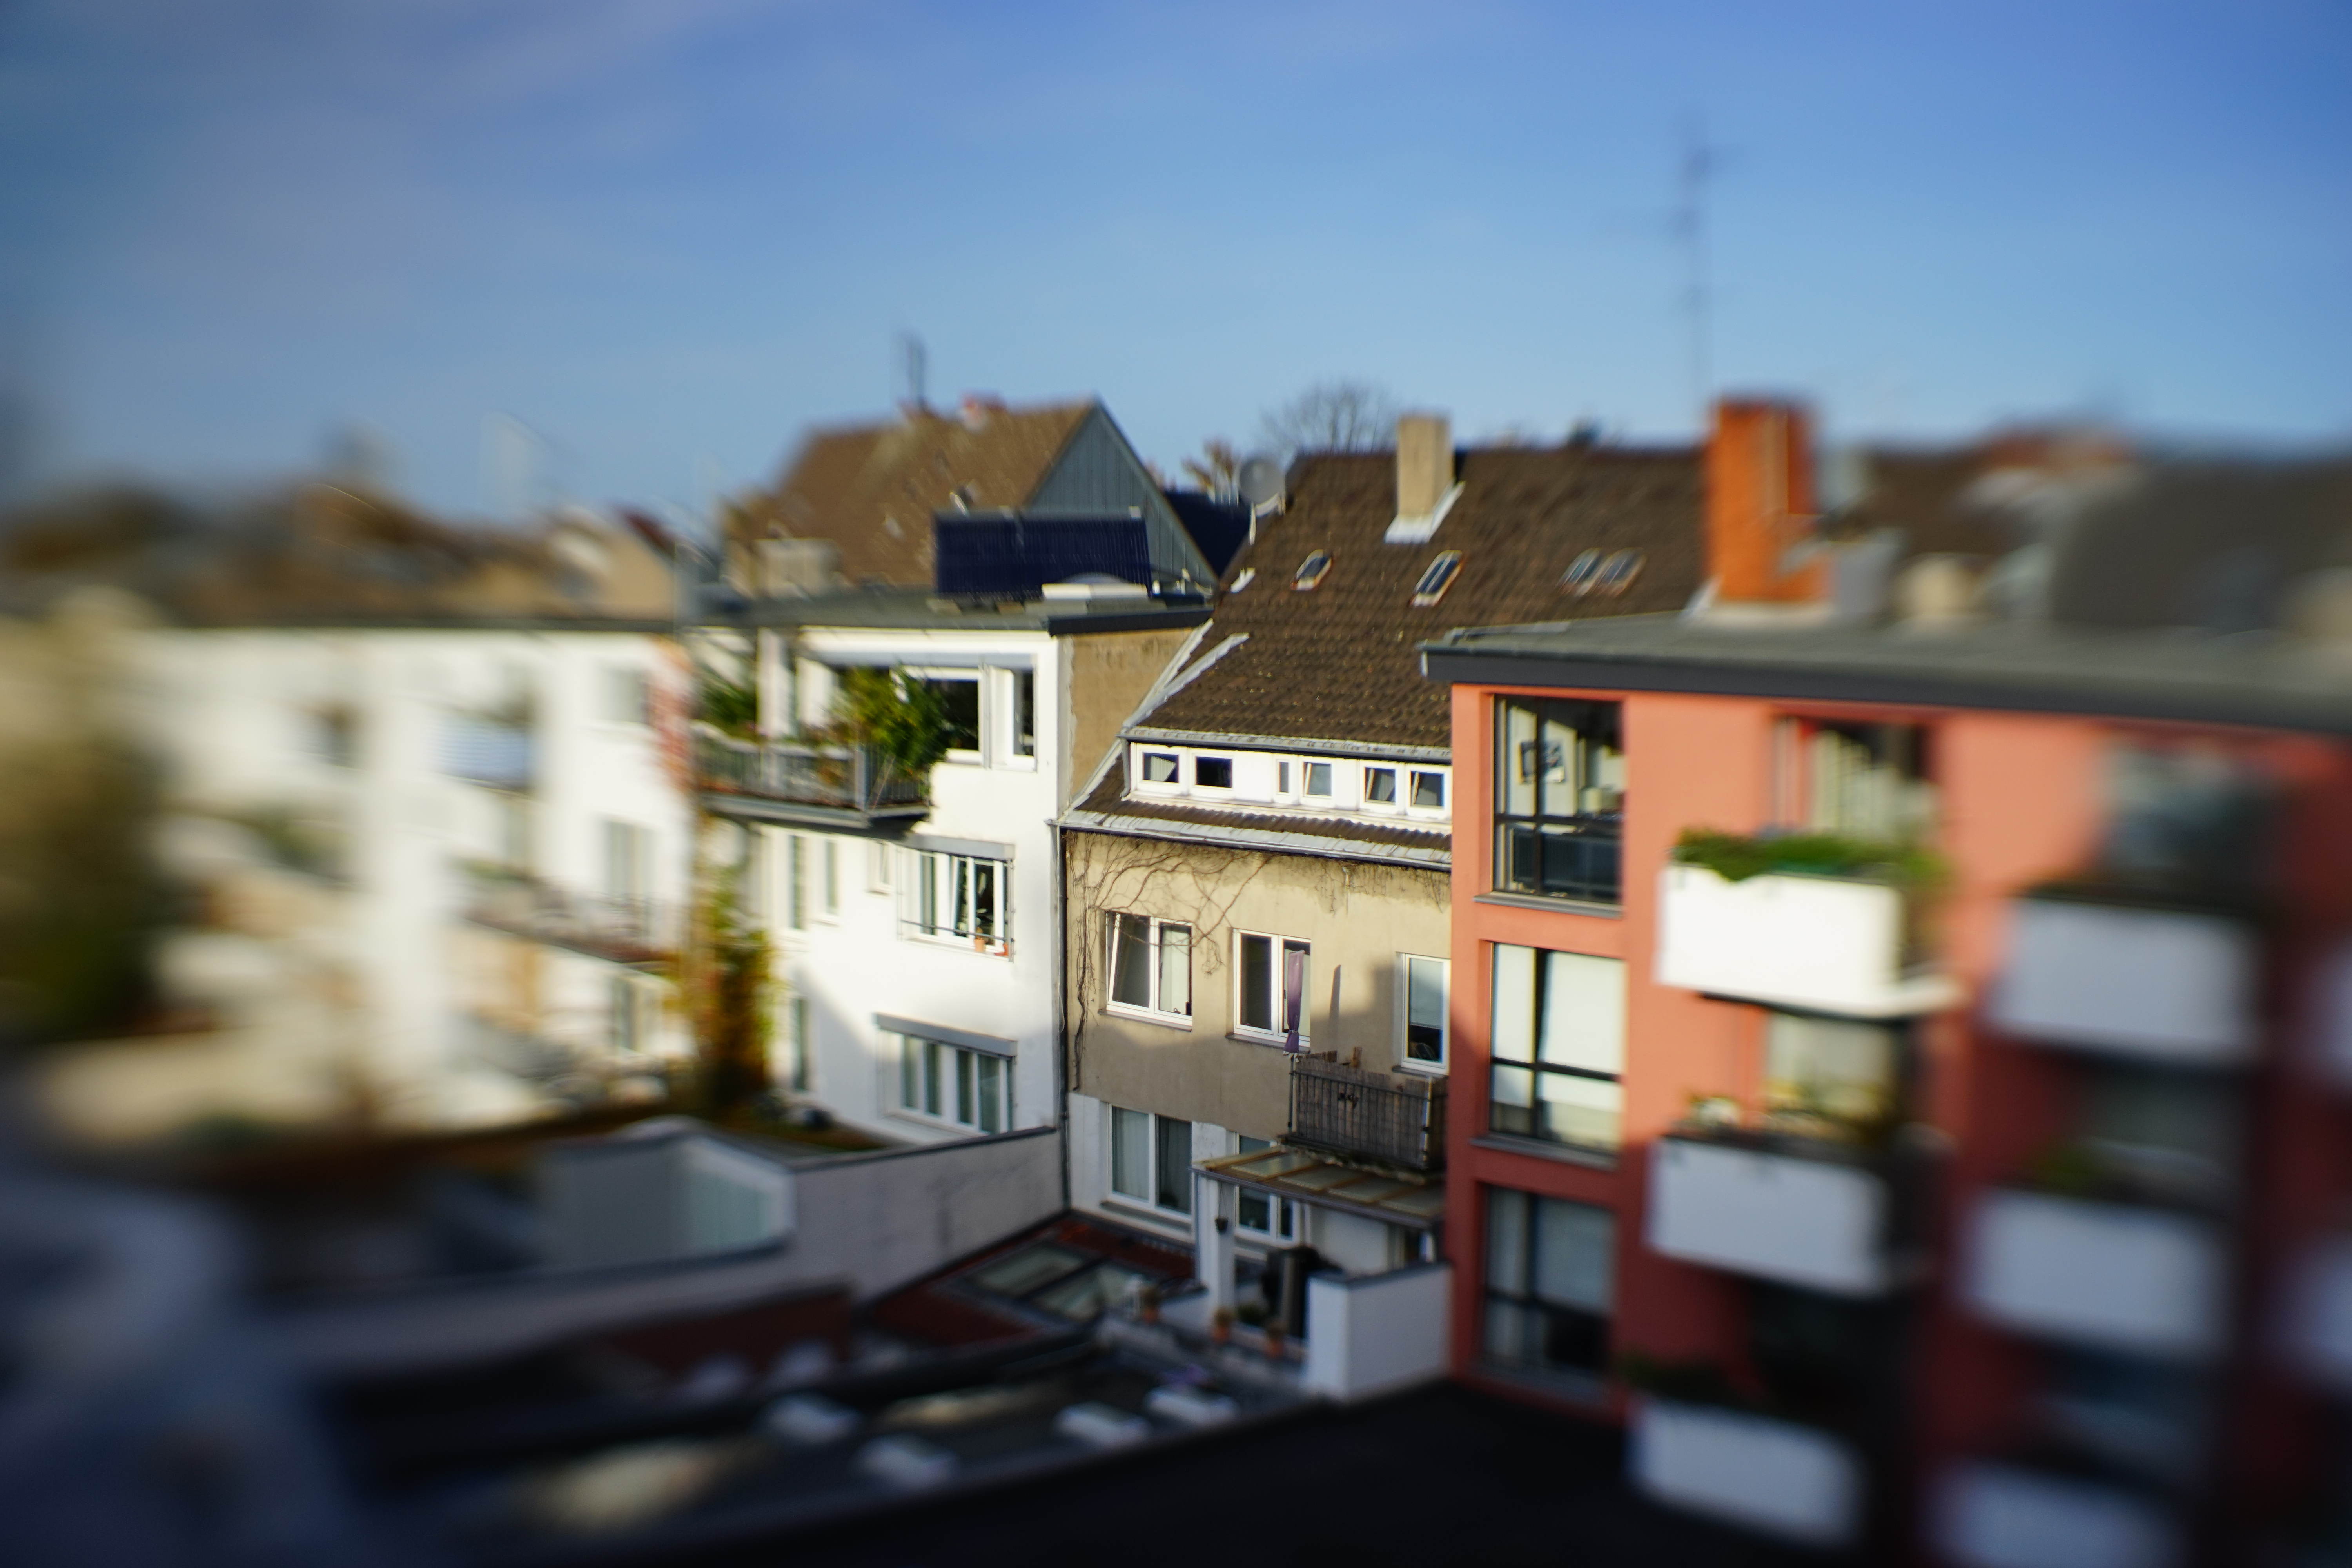
F2, nothing sharp at all.

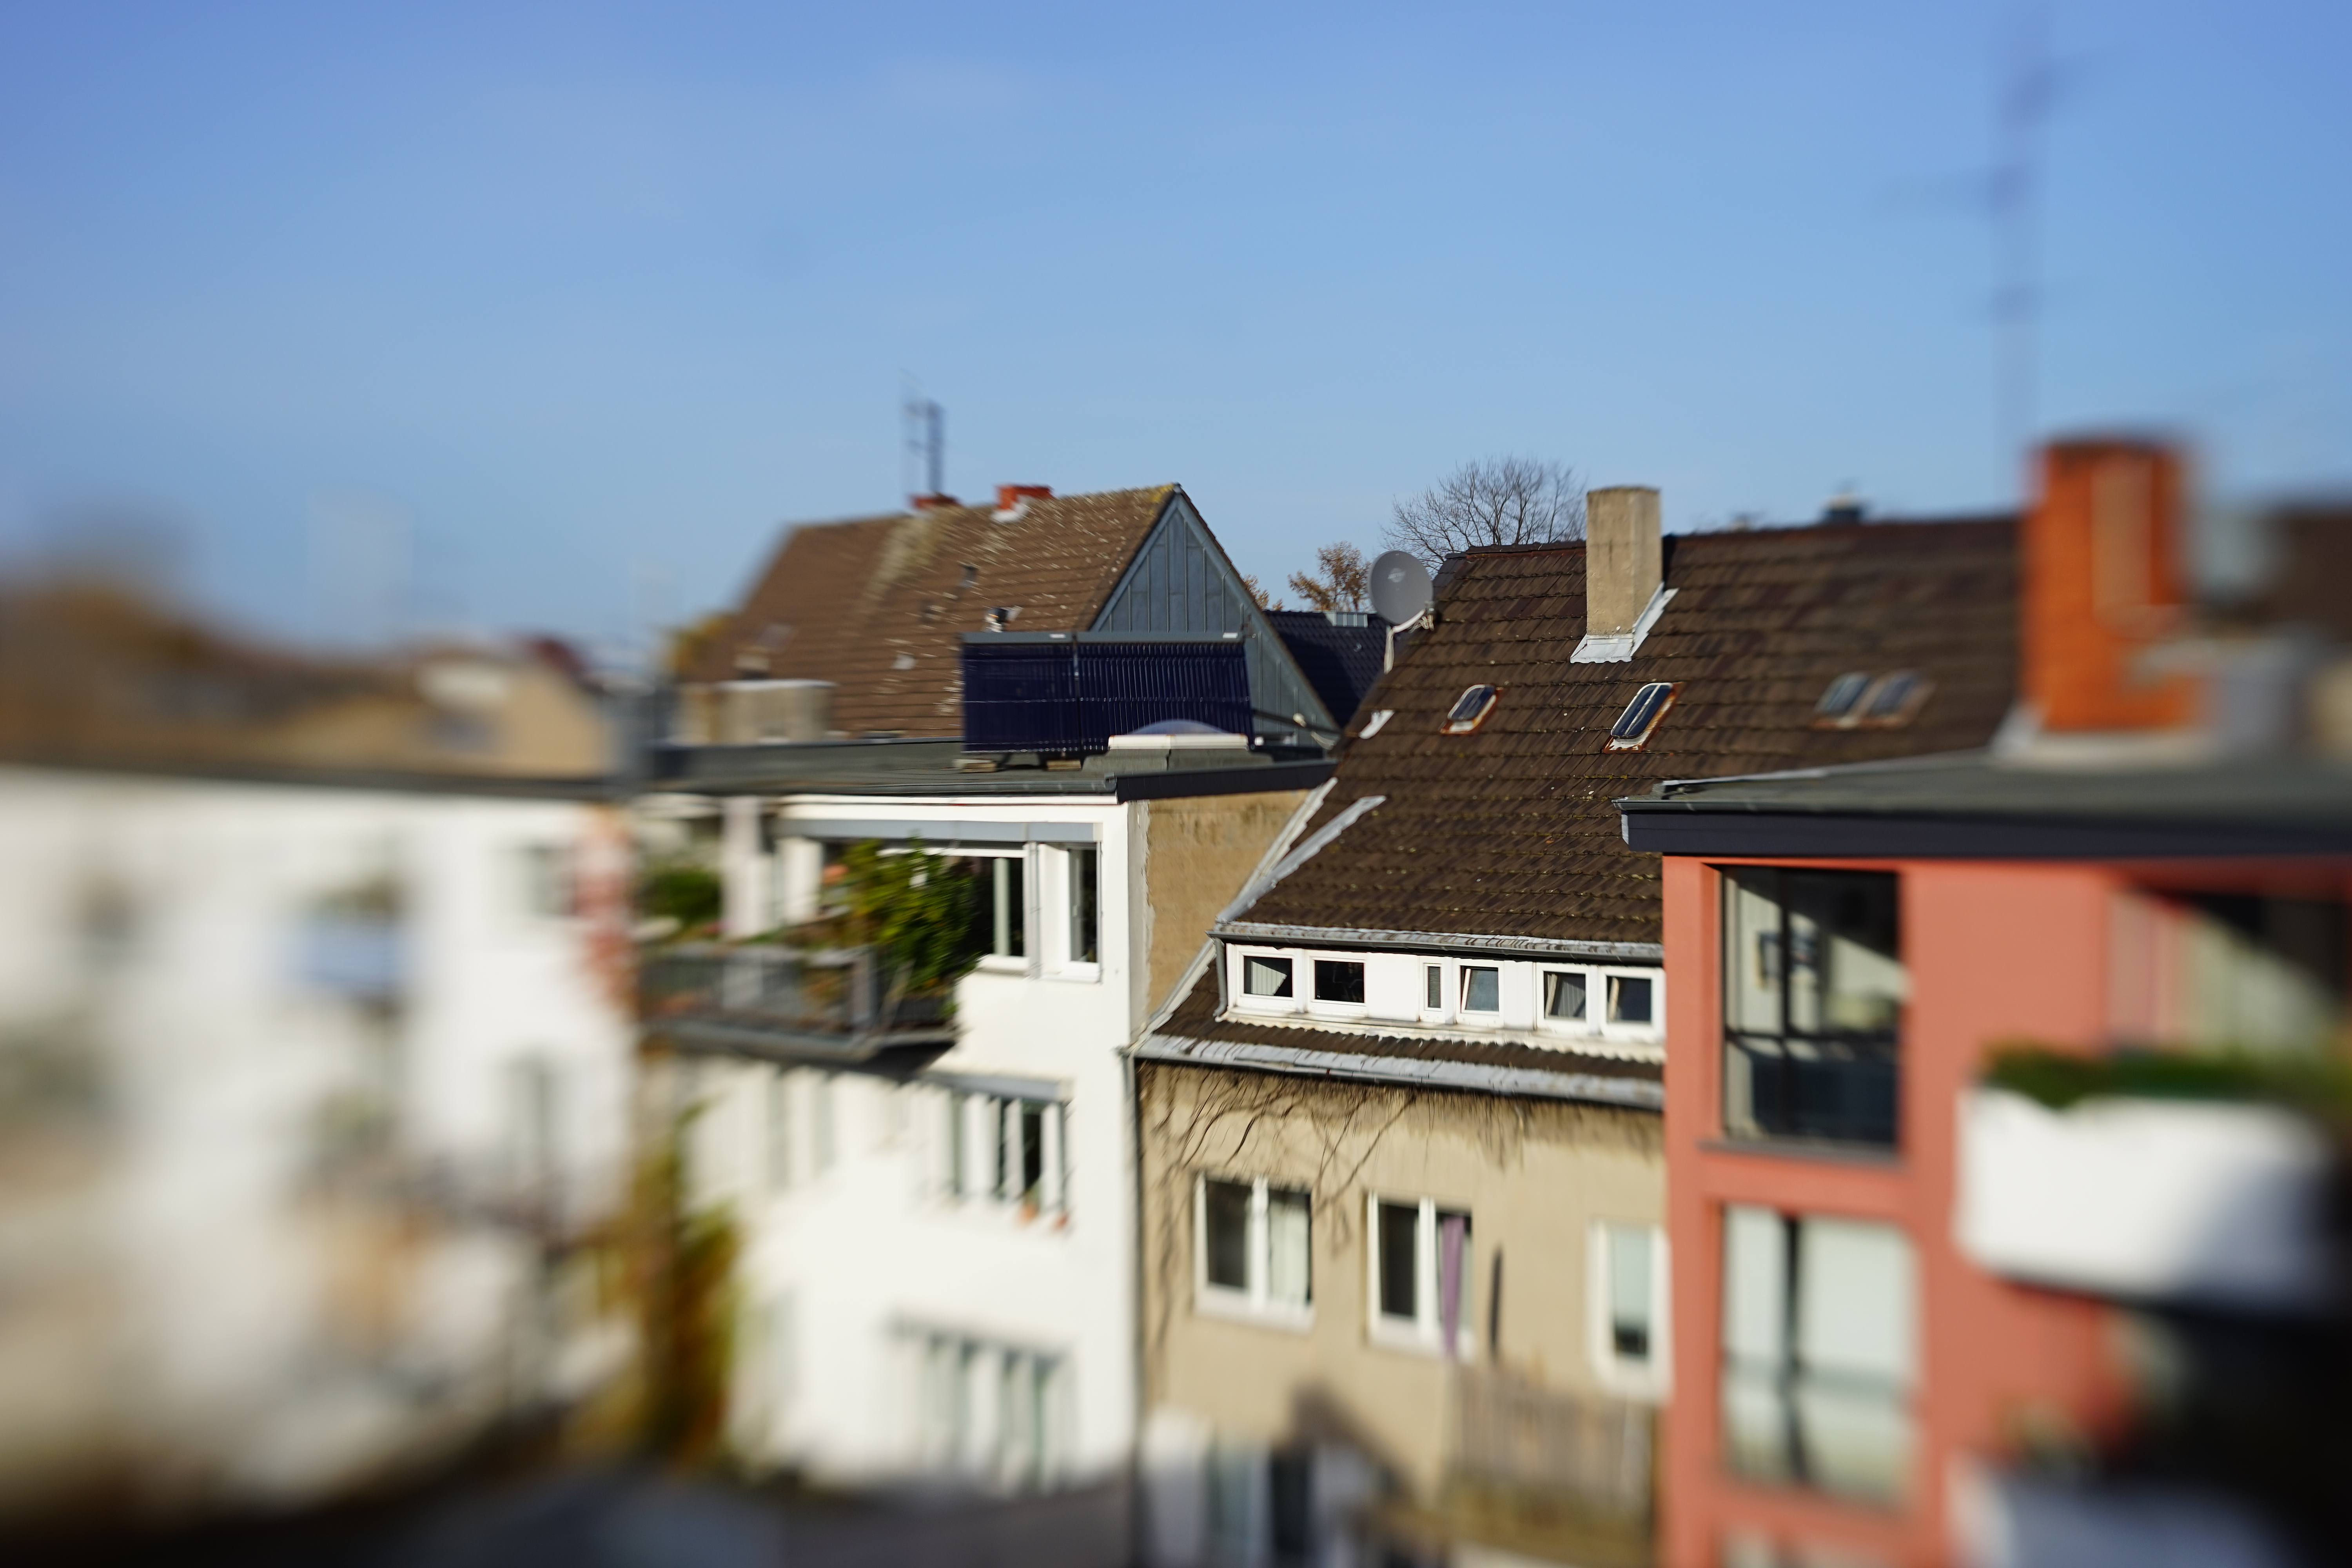
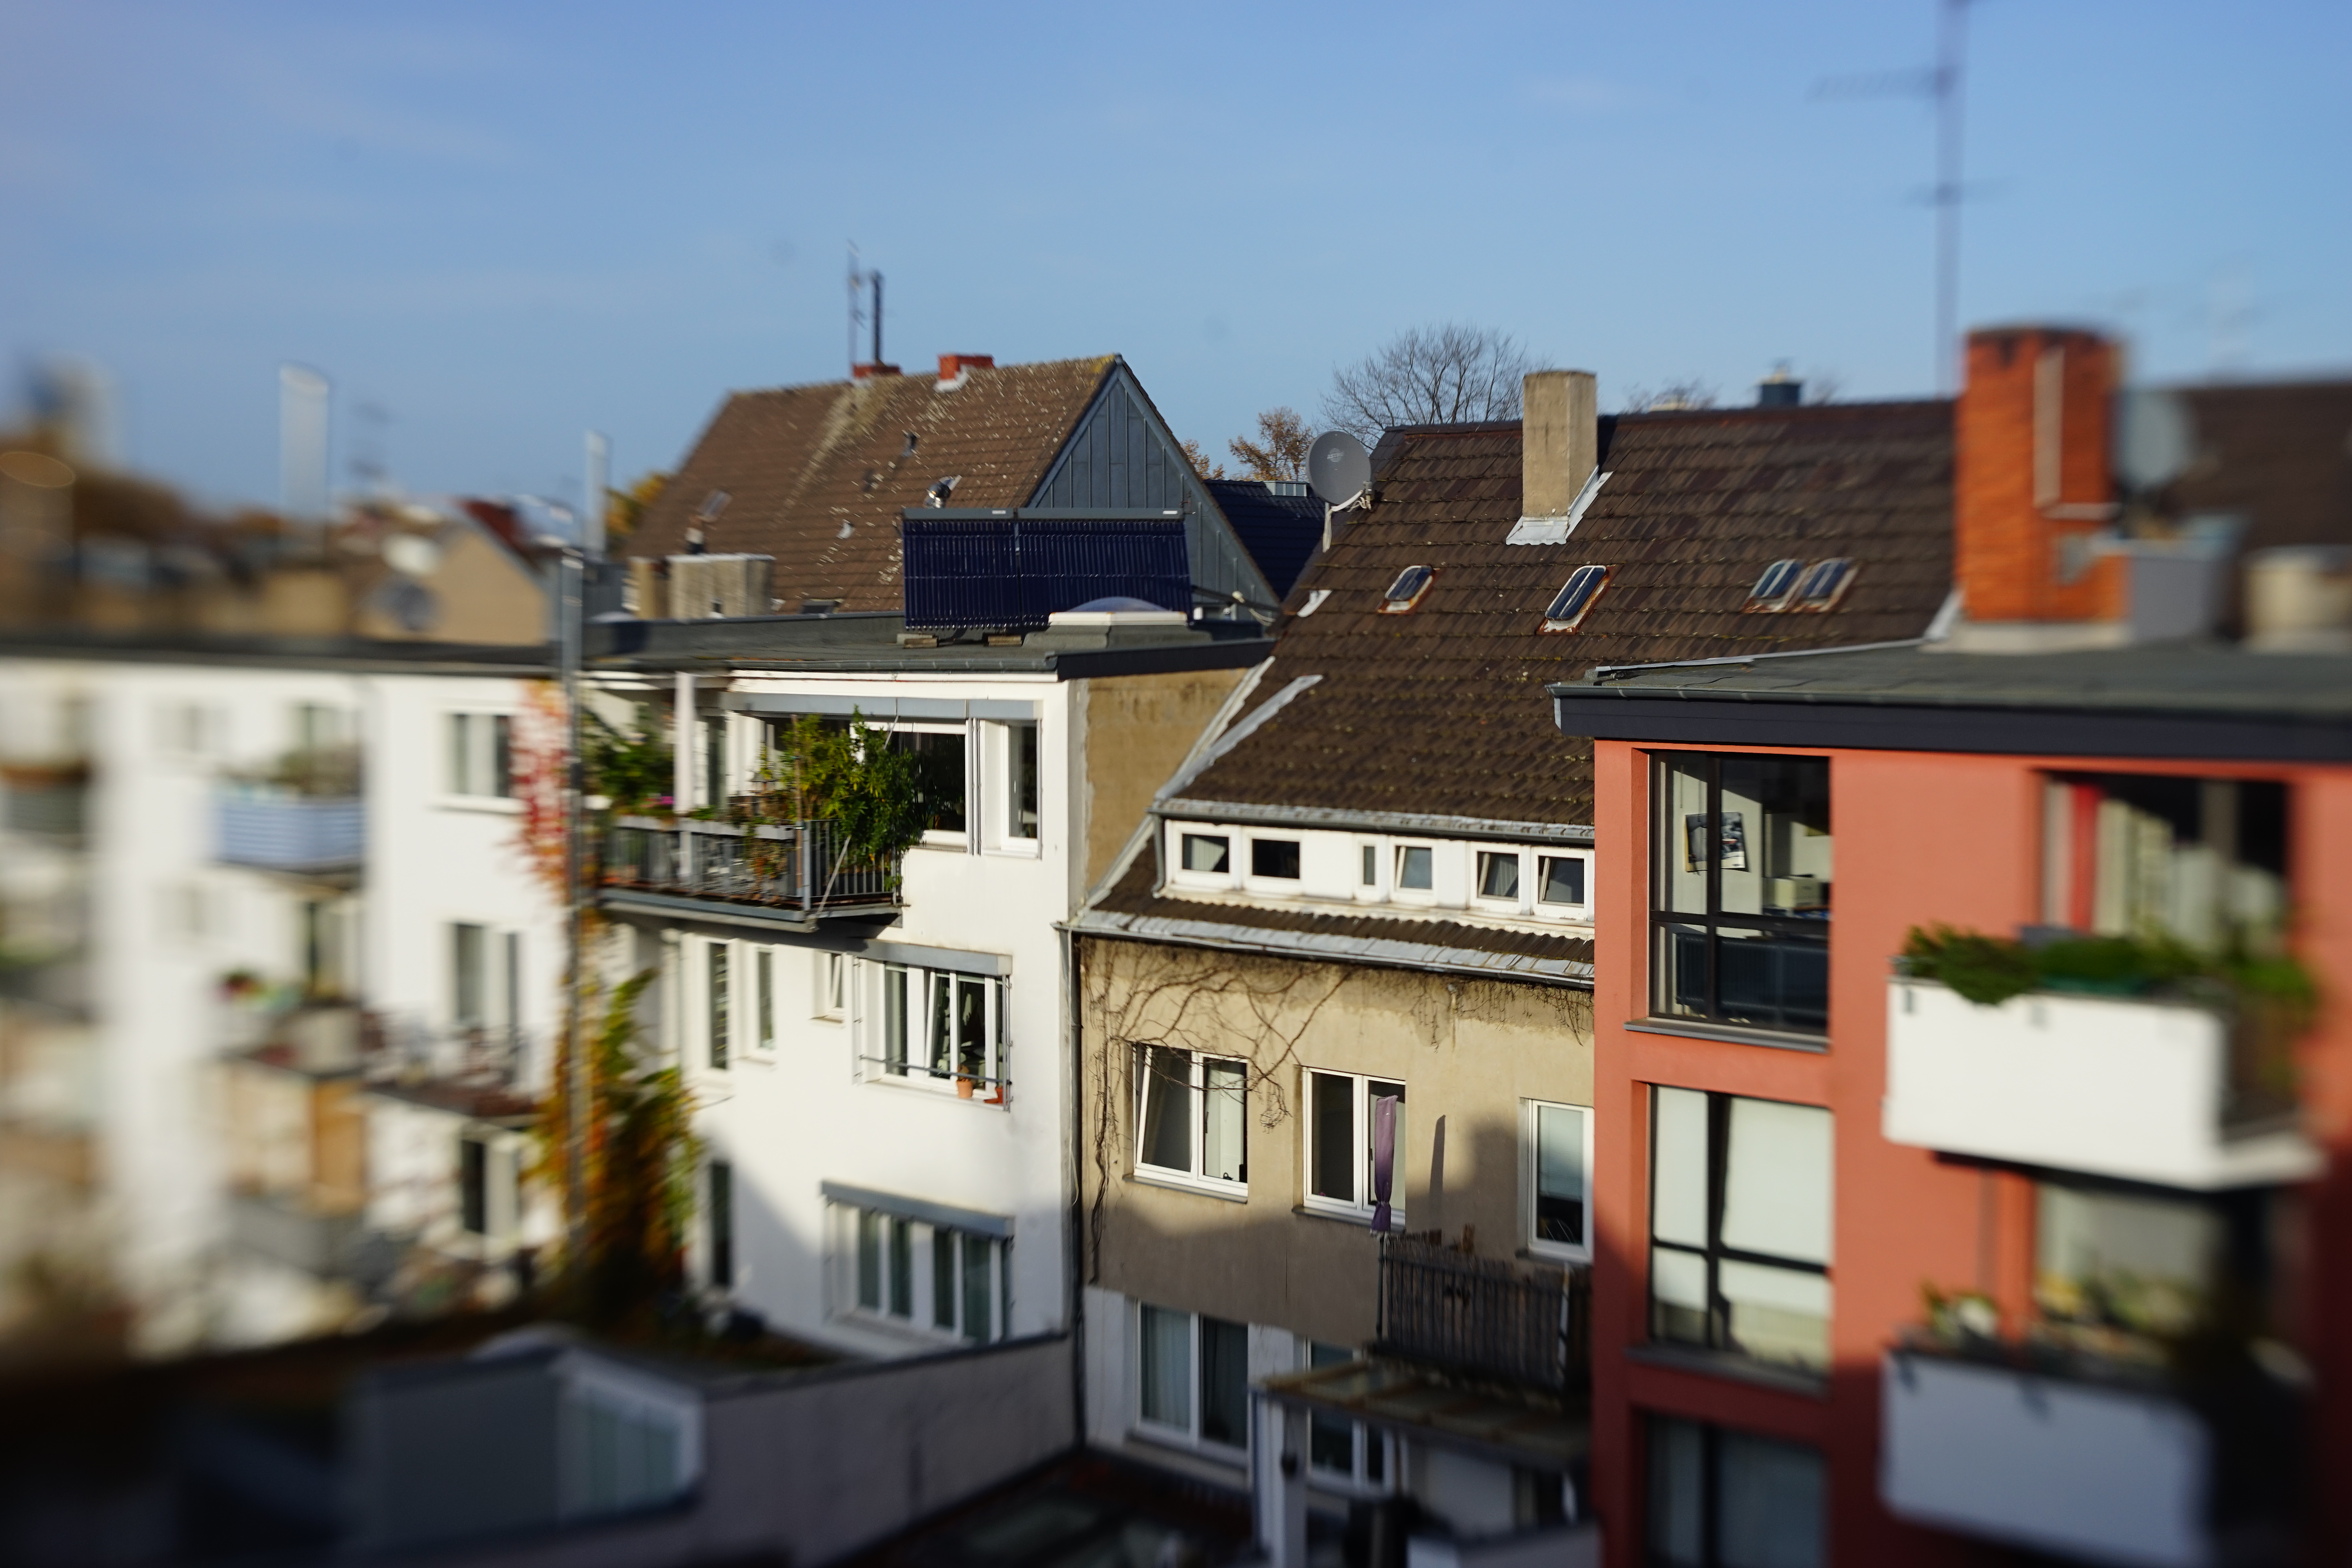
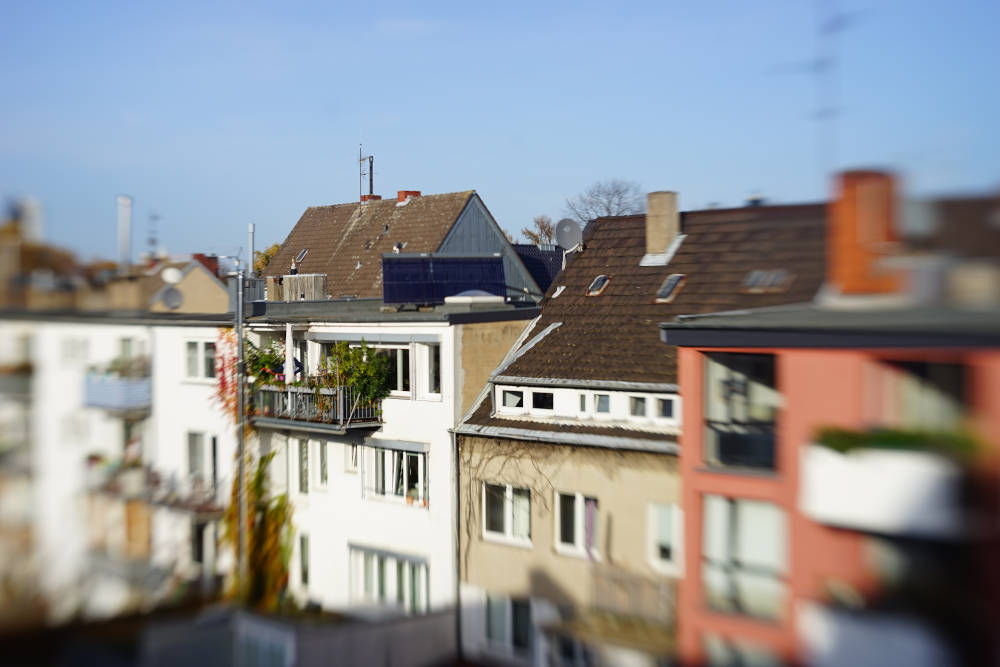
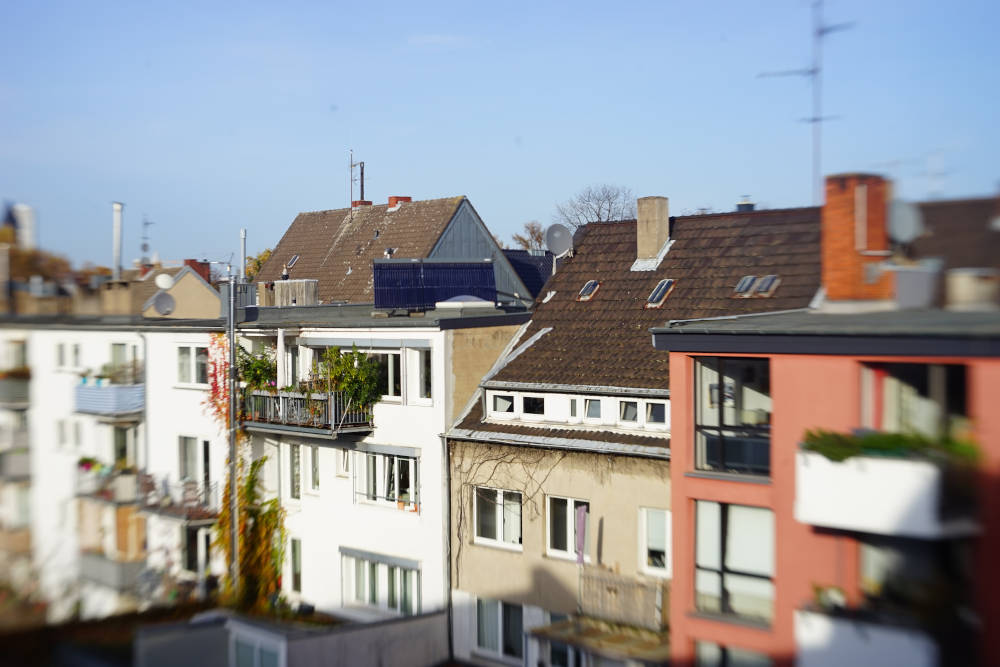
F2.8, the promised effect begins to
show, a (soft) focussed area in the middle, the rest is blurred.
F4, focus gets a bit clearer...
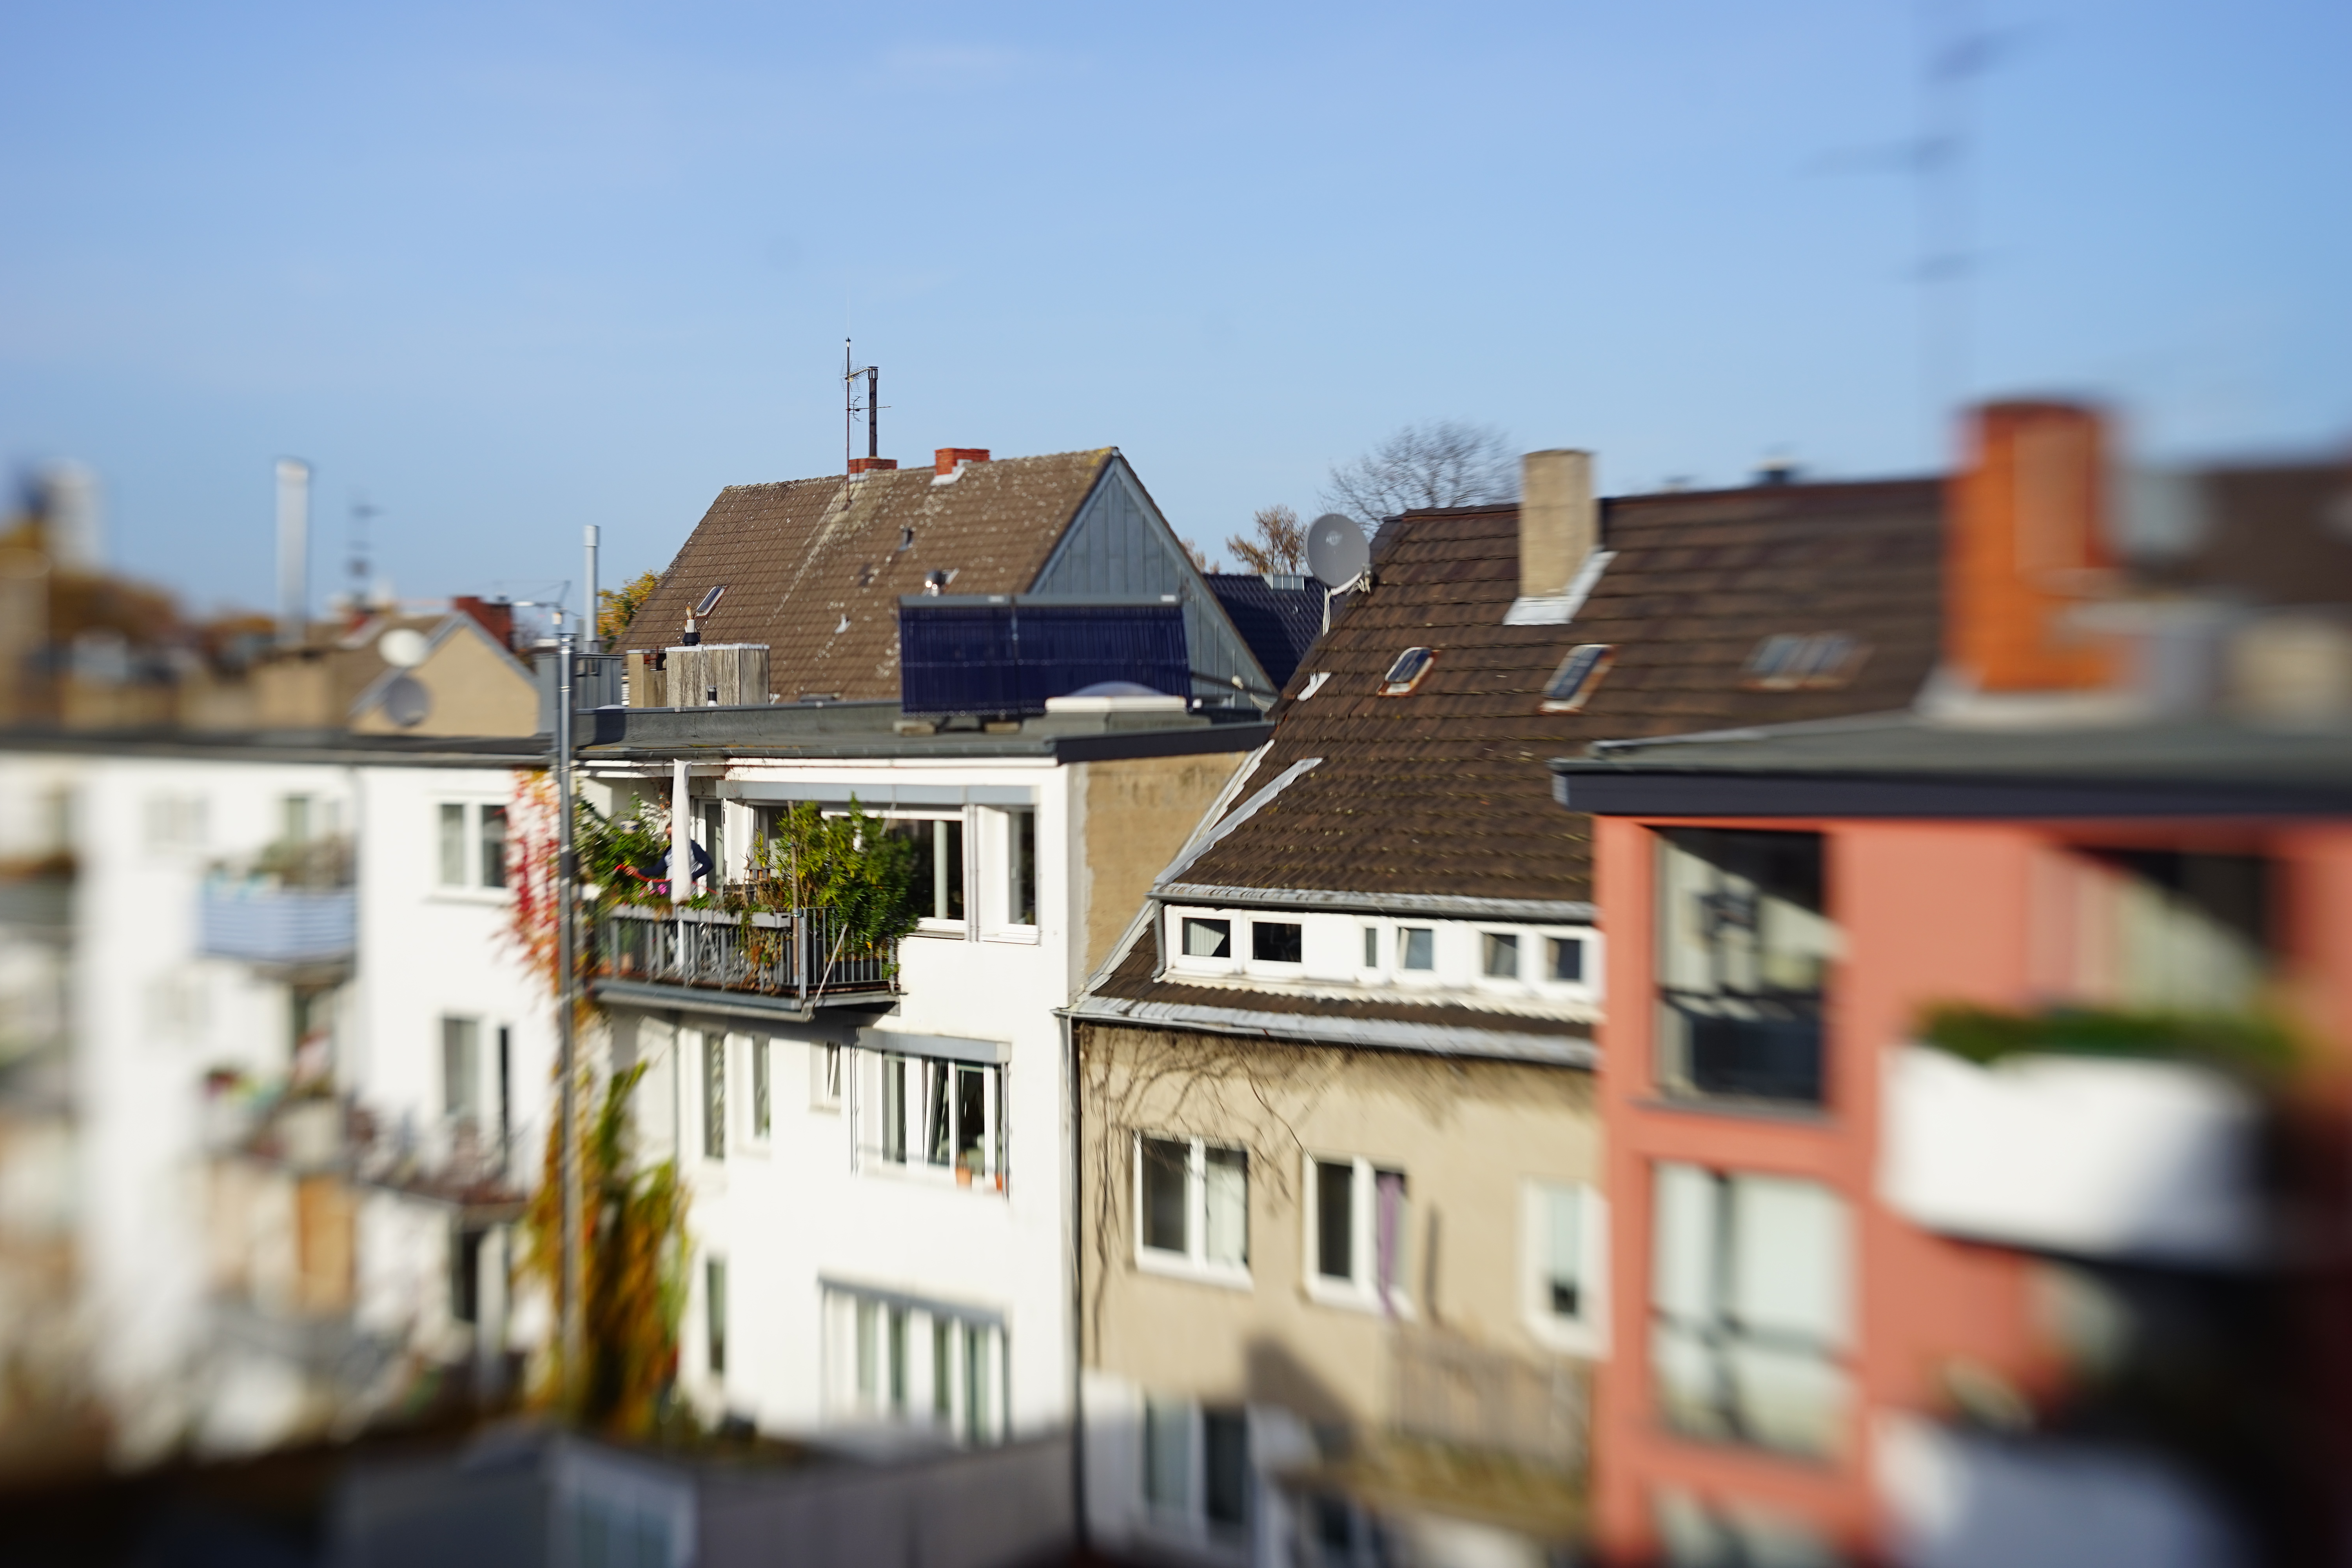
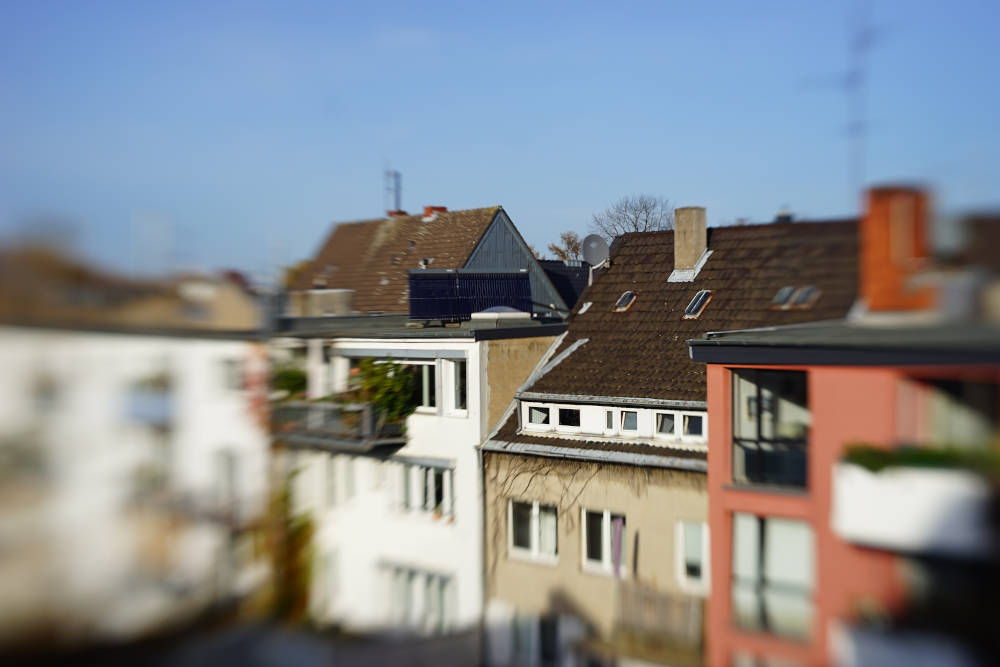
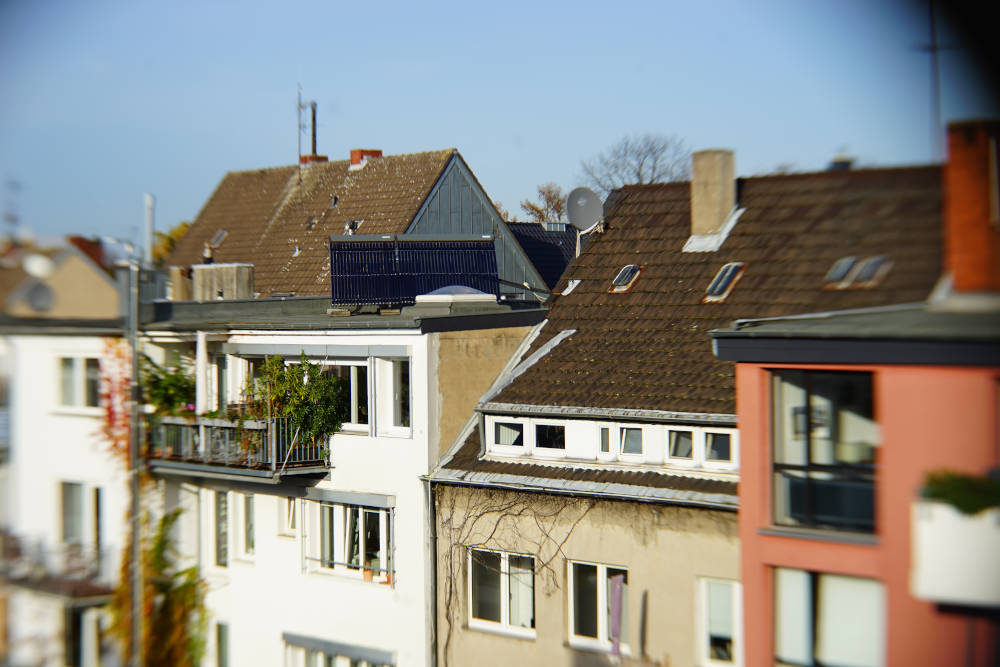
...still better (F5.6). At the
same time the focussed area grows...
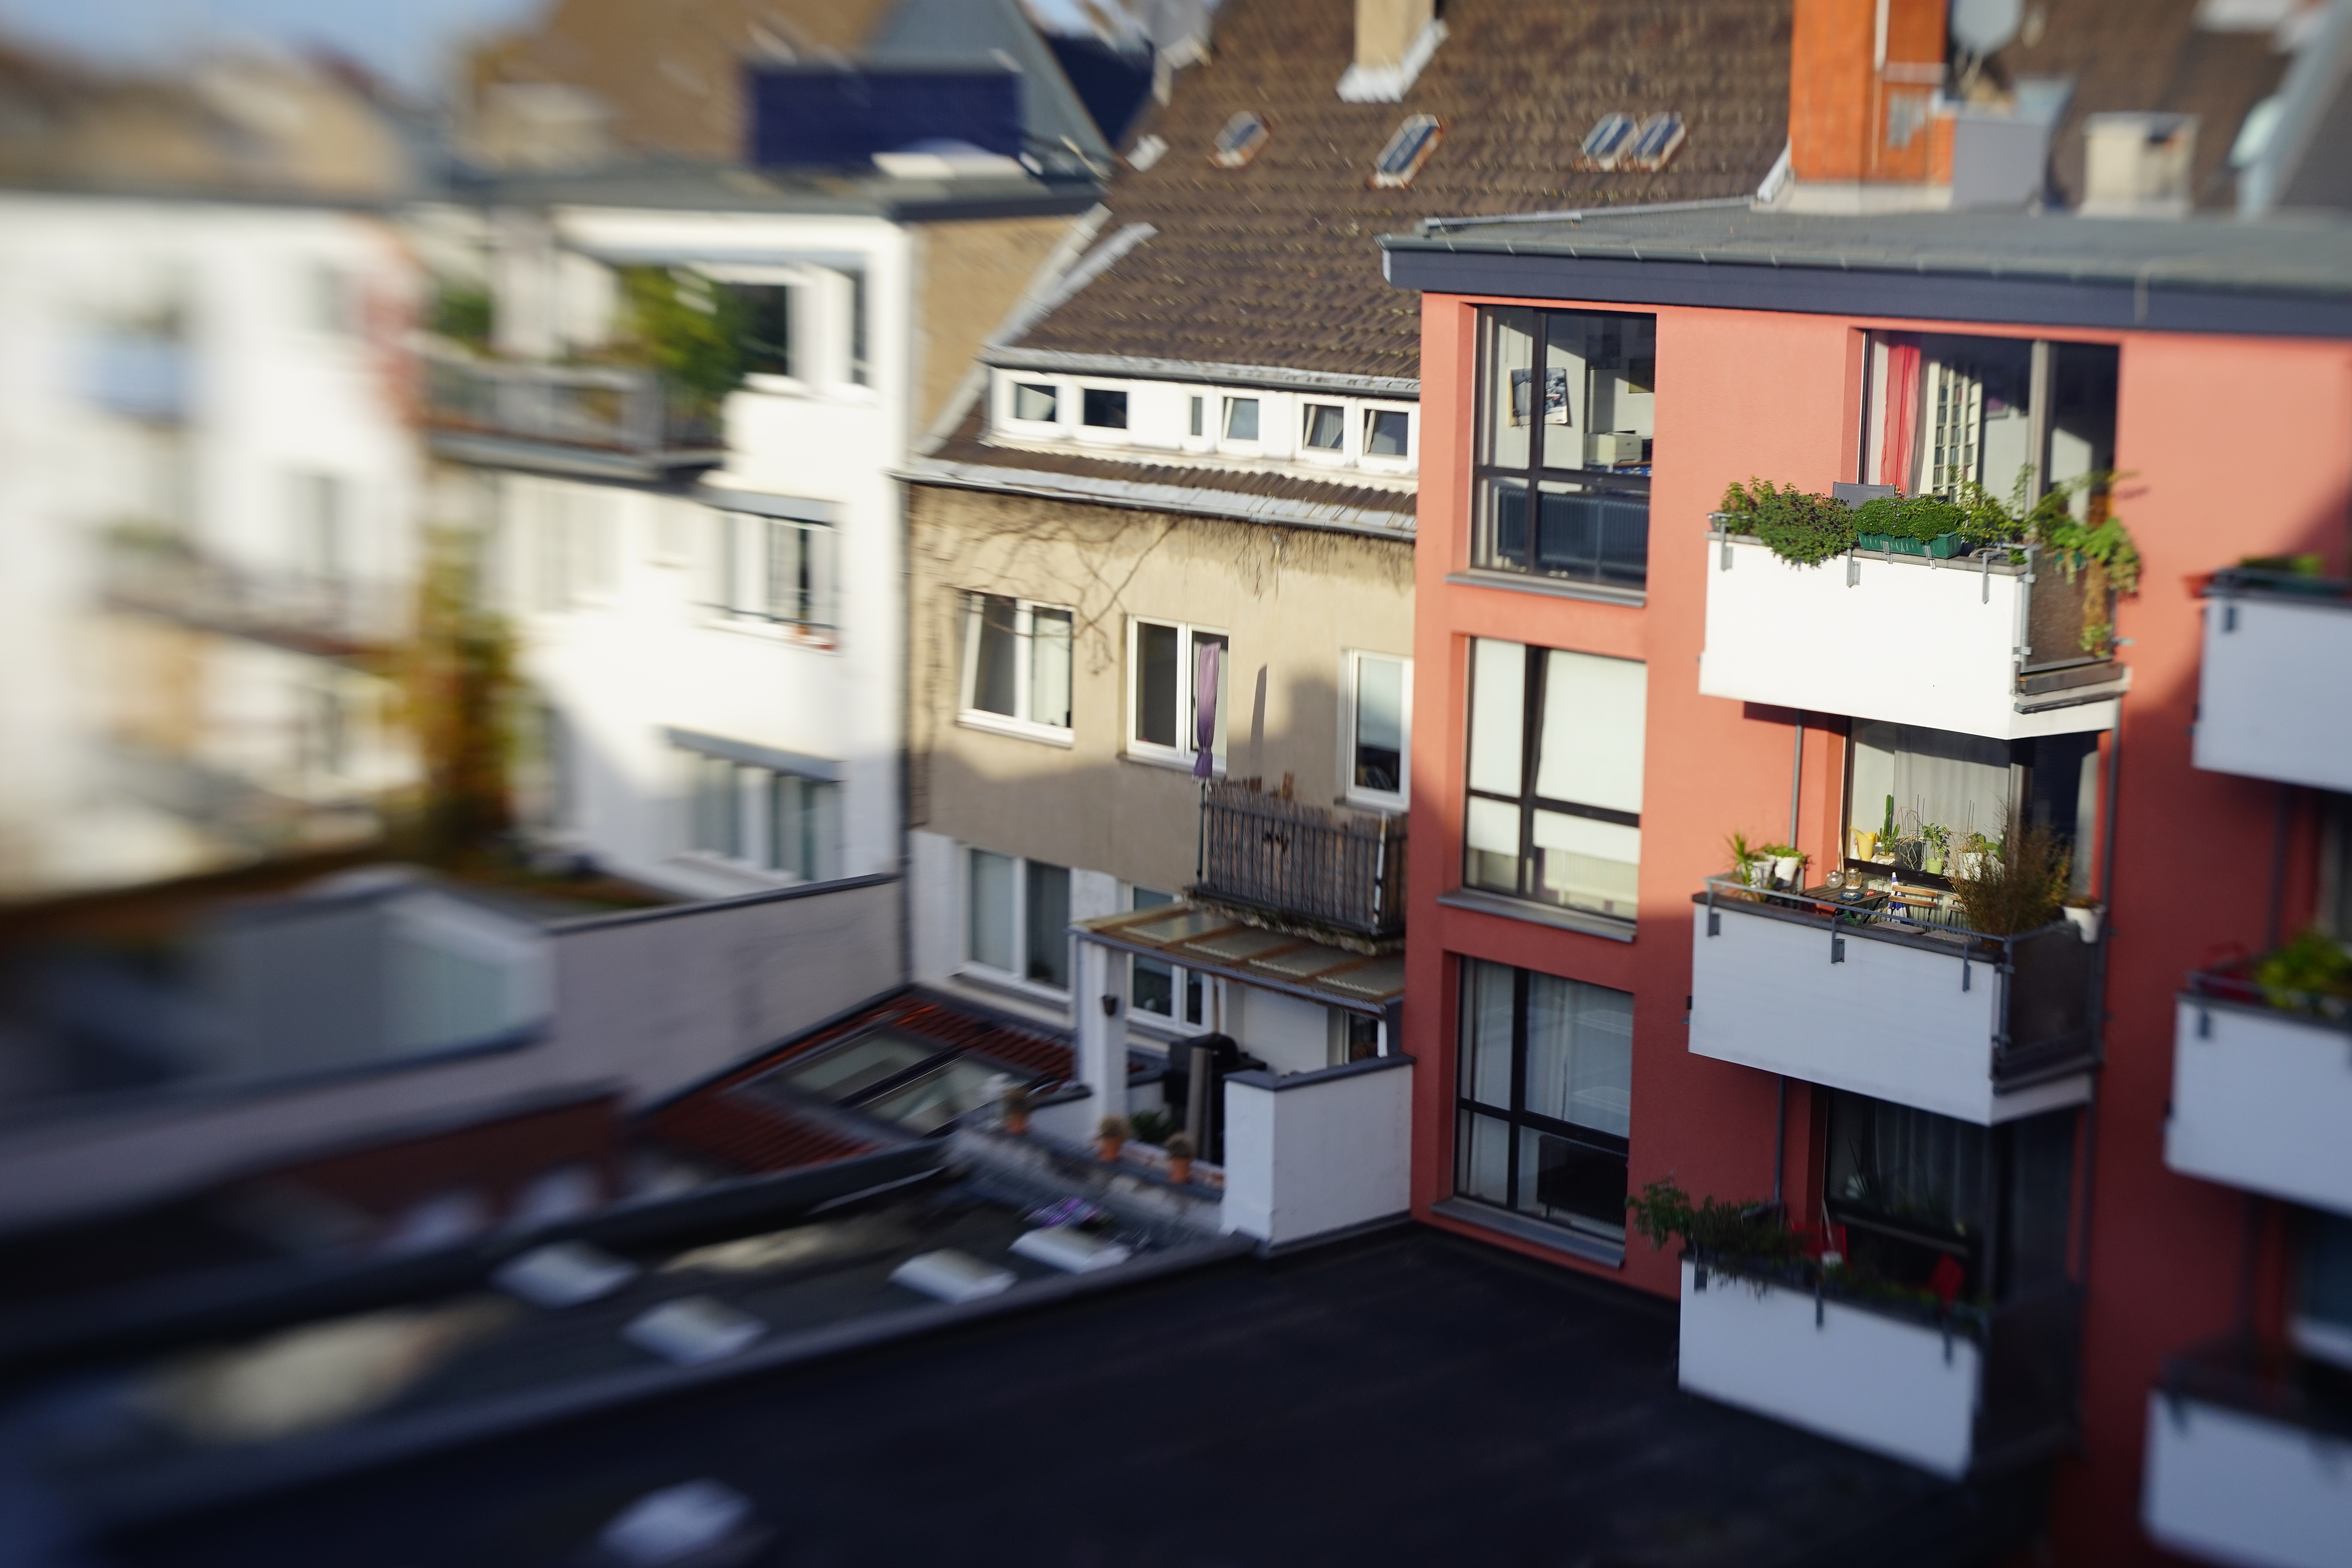
...to the results that are promoted is ads. This is the end of the
apertures provided.
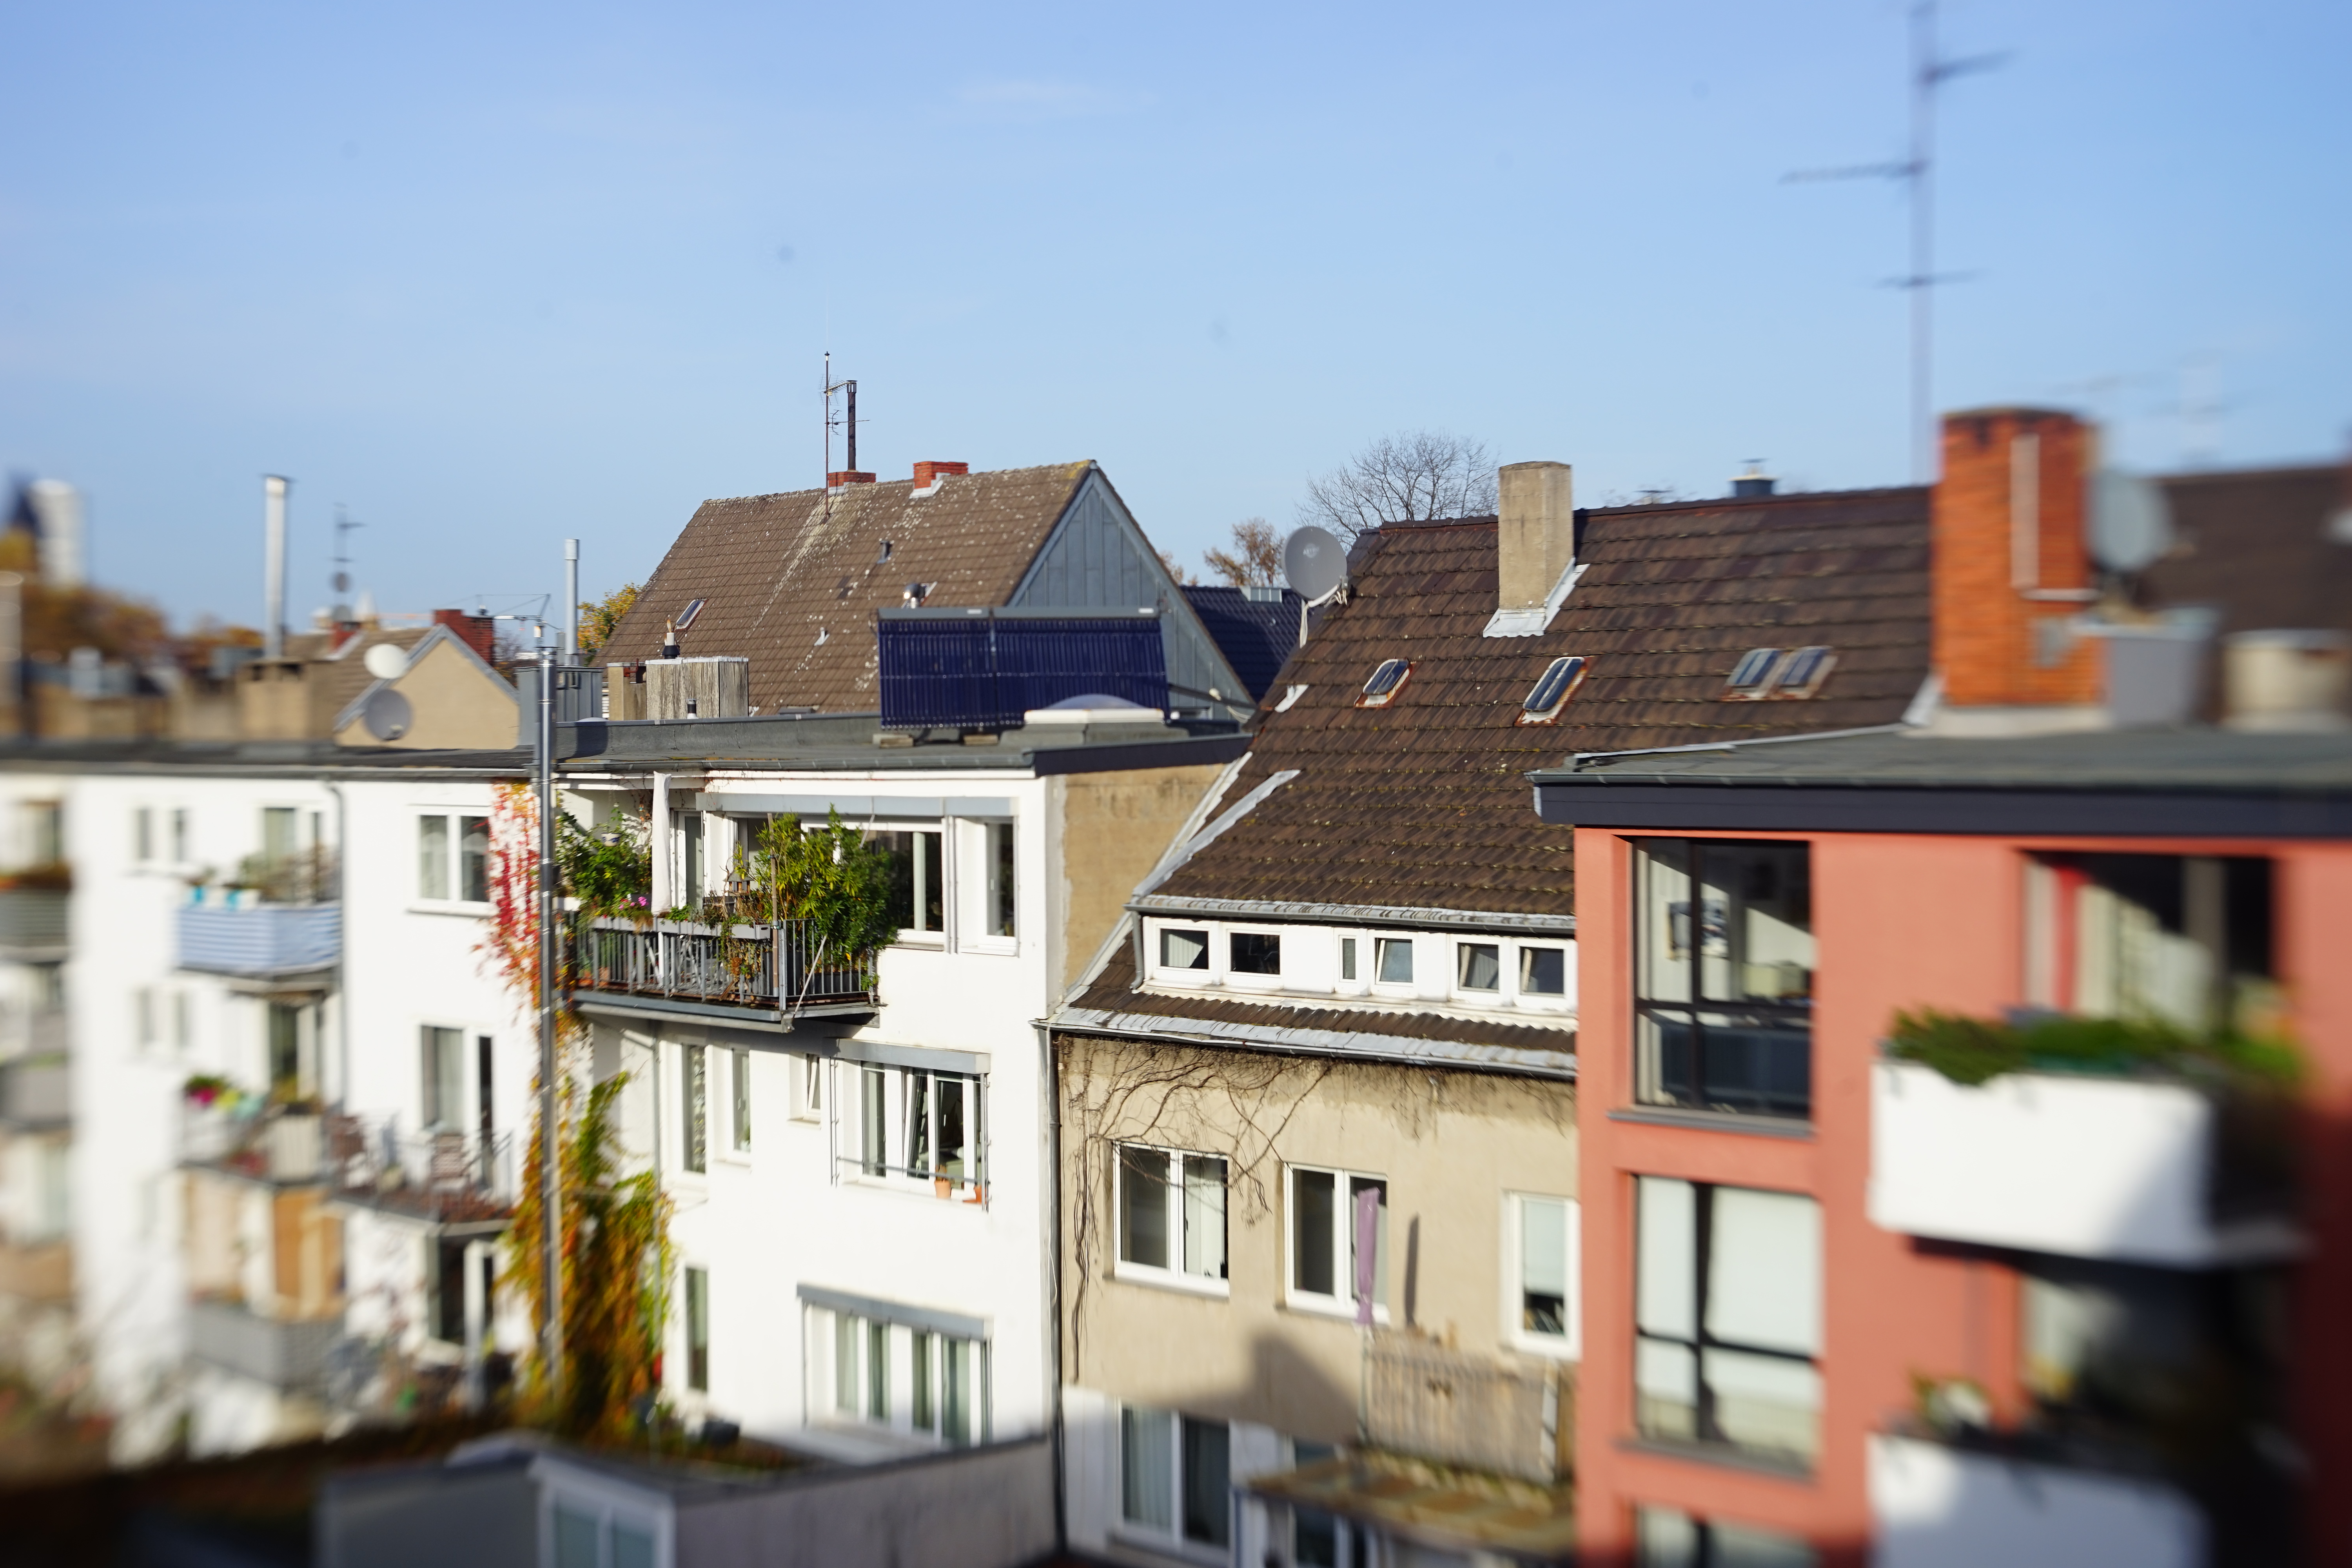
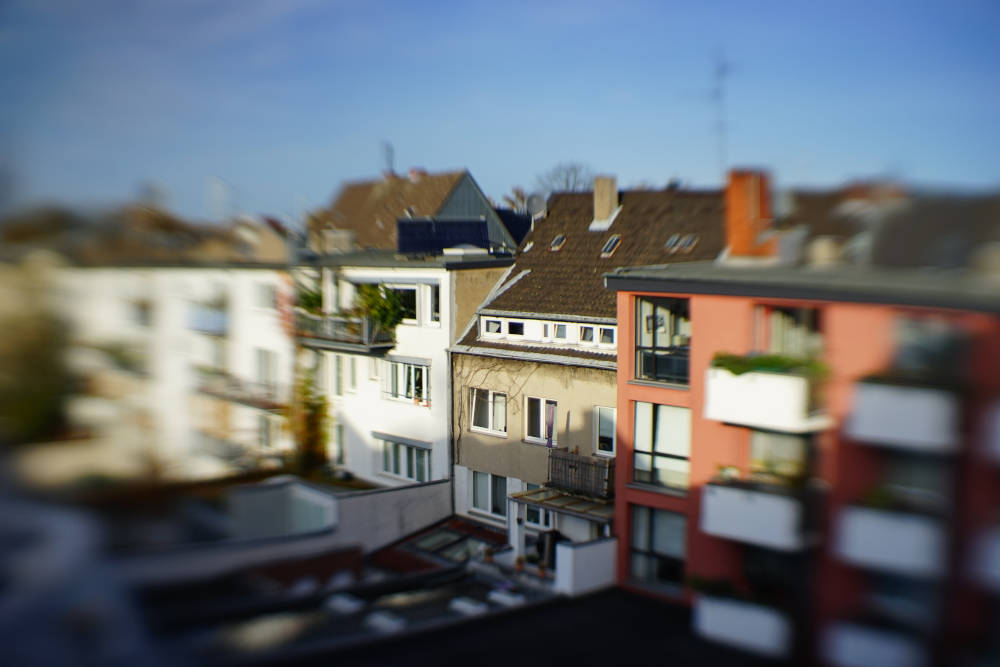
Nevertheless smaller apertures
make sense (F11)...

...at F16 there is a sharp picture
at the center...

...and
even F22 makes sense. It's a more subtle effect, but not all
photographers want it overdone.
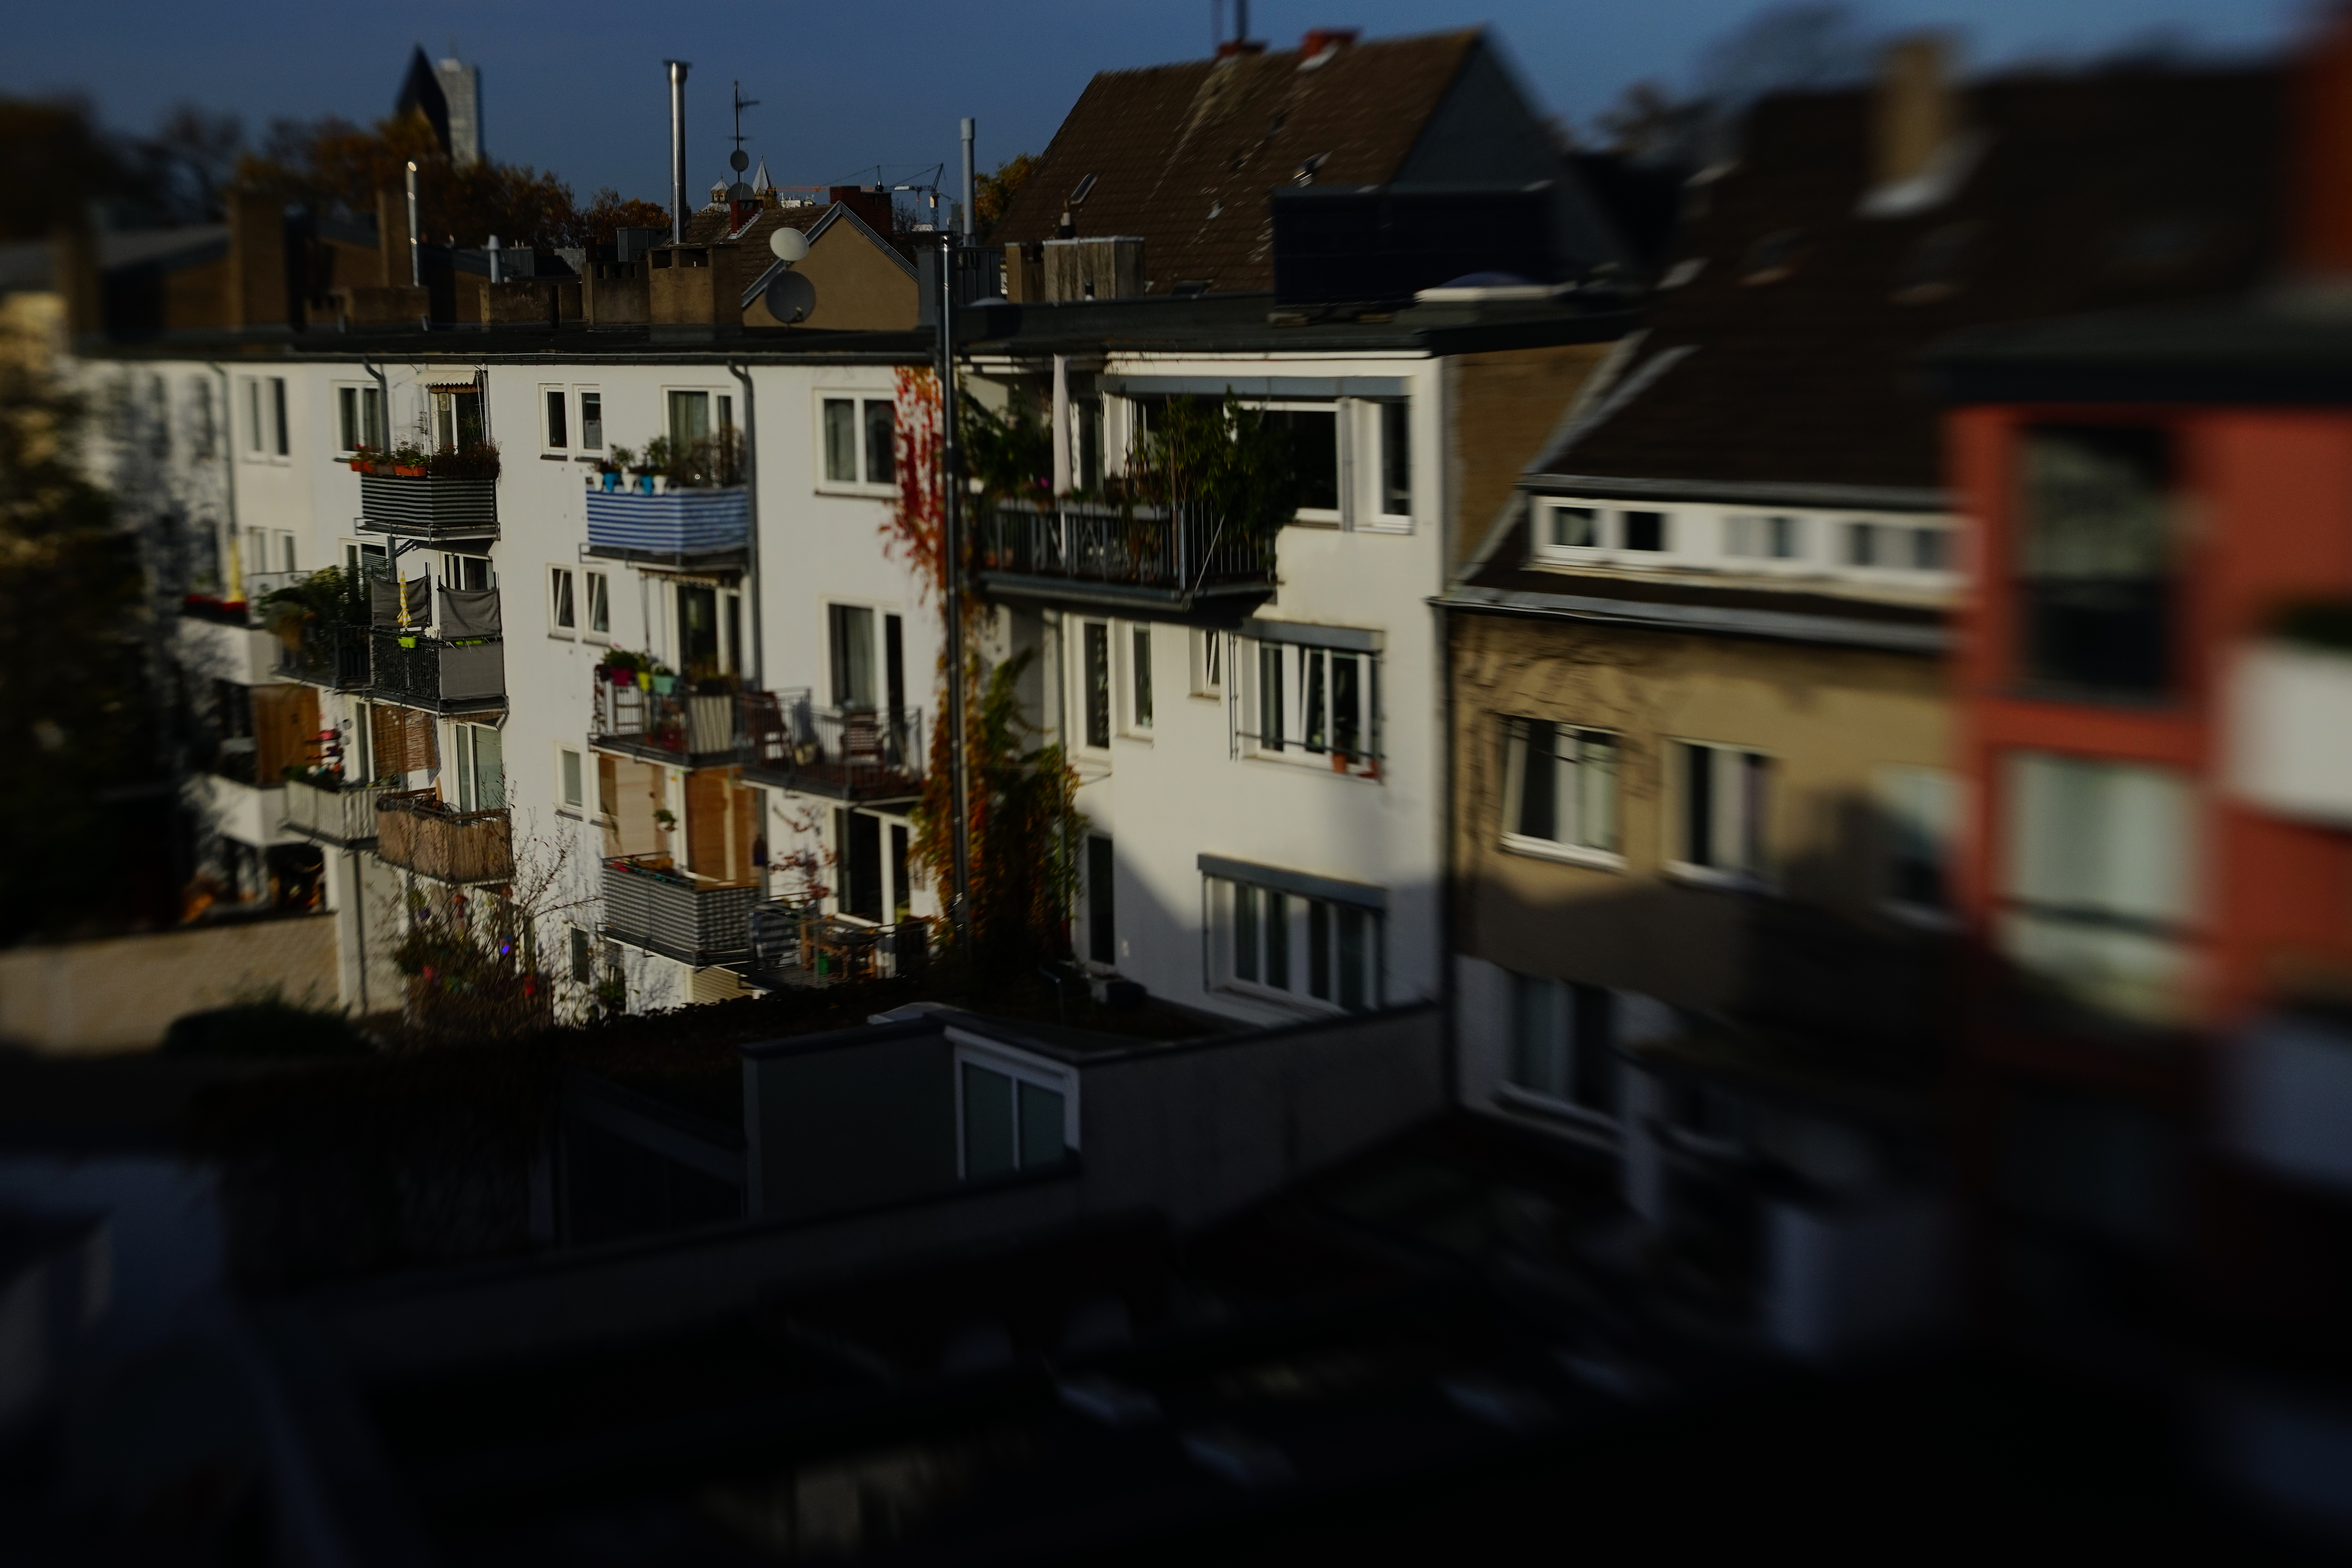
One of the desired effects of the lens is that you can bend the tube
sidewards and so shift the focussed area off the center. Photos taken
a bit later the same day.
Centered at F8 again

Focus shifted to the right,
F8.

Shifted to the left and a bit down, F8.
Now let us see the Tele and the Wide lens.
Tele lens at F8. It just covers the format, if you manage to center the
lens exactly which is difficult. No shift possible.

Wide lens at F8. Same as the Tele
lens, it just covers the format.
Wide lens again, F2, no aperture
disk. Nice effect, you can focus the center and the image covers a
bigger circle.
Close facus and macro lenses. No
full resolution pictures.
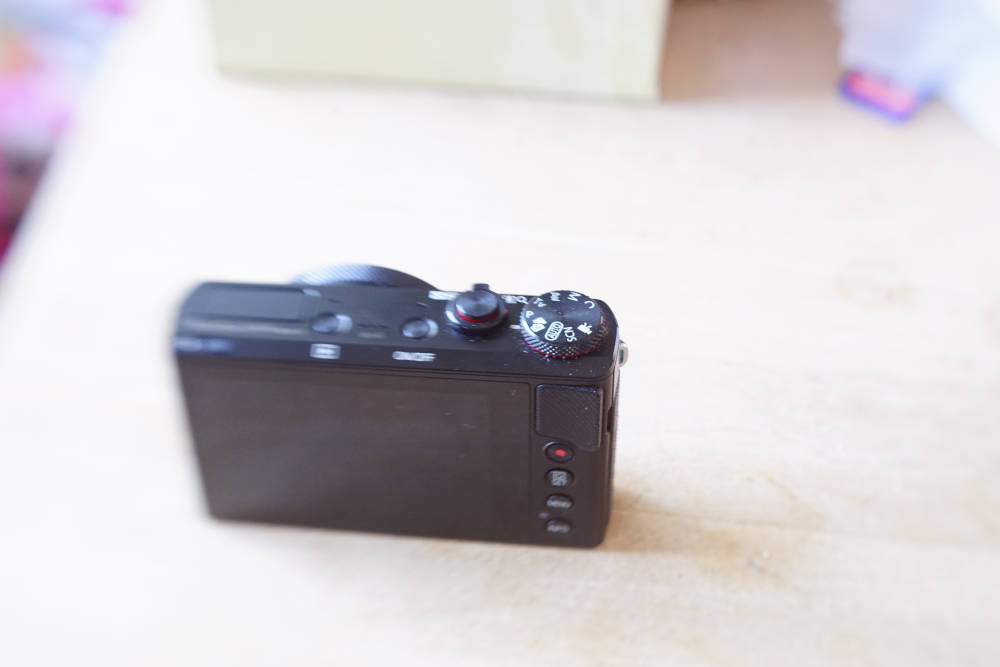
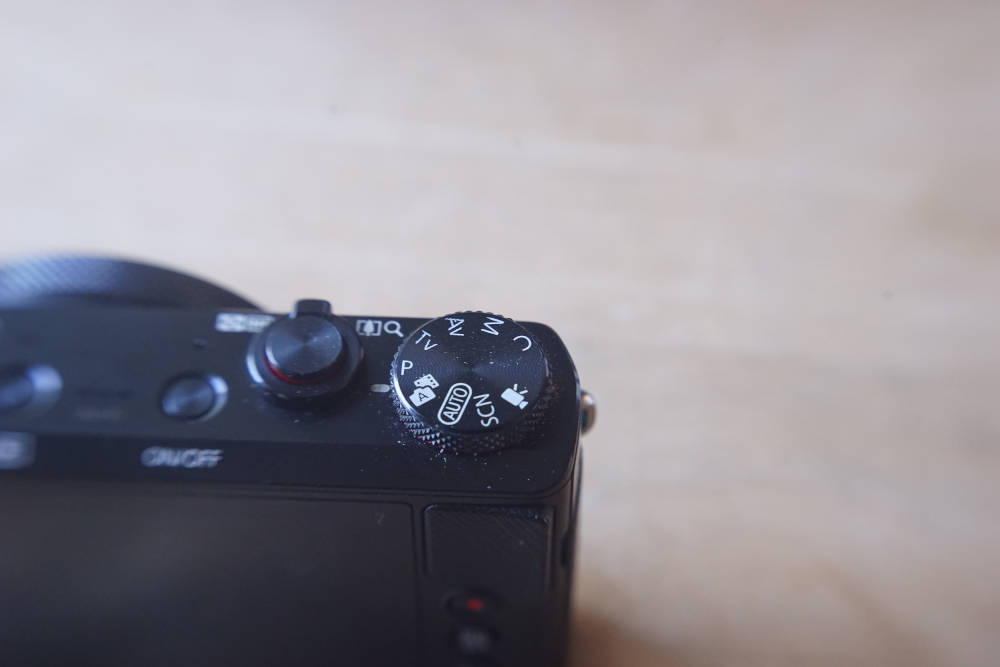
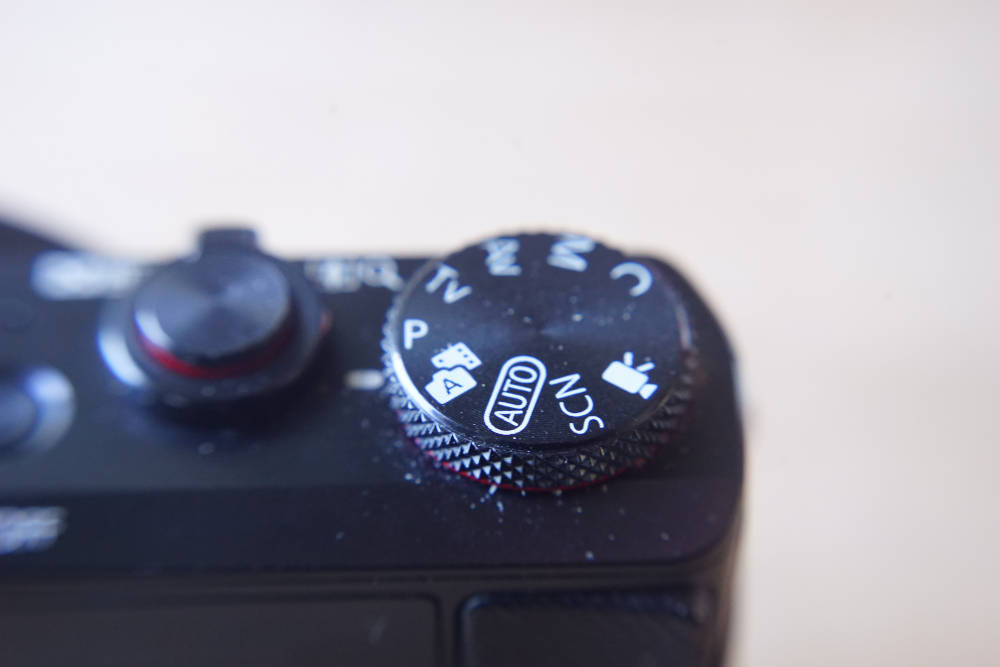
Closest focus of the lens is about 40cm from
outermost
edge of the lens, F 8. Focus on
the program wheel of the camera.
+4 macro lens attached, about 20cm from the camera.
+10 macro lens attached. Impressing. only a few cm from the camera and
difficult to focus.
This
is a fun photo lens, called selective focus lens.
It's a simple PVC tube which has to be squeezed to focus or bent to move the sharp area. The lens is
set to be sharp only at the center, the rest is blurred, simulating
perfectly a "bokeh" effect. The sharp spot (called sweet spot) can be
shifted sideways. It covers full
format. The lens is soft to blurry at full
aperture. Closed down it's becoming sharper, but retains blurred edges.
And a general warning: squeezing and releasing the lens aspires dust
into your camera which can spoil your sensor. Zoom lenses do the same,
but in general they are well protected against dust passing inside via
an elaborate seal system. The lensbabies are simple constructions
without much dust sealing. So squeeze with care and clean your sensor
in case of.
The accessories are nice, but very expensive.
The lens is nevertheless sturdy. It is easy to use after some learning.
It's fun to experiment
with its possibilities. I found mine plus the accessories for very
cheap, so it was worth a try. In no way would I have payed the original
prices, my second hand Mamiya RB67 150mm soft focus lens with all disks was
cheaper. But if you come across a set for a reasonable price, try it
out. It's fun.
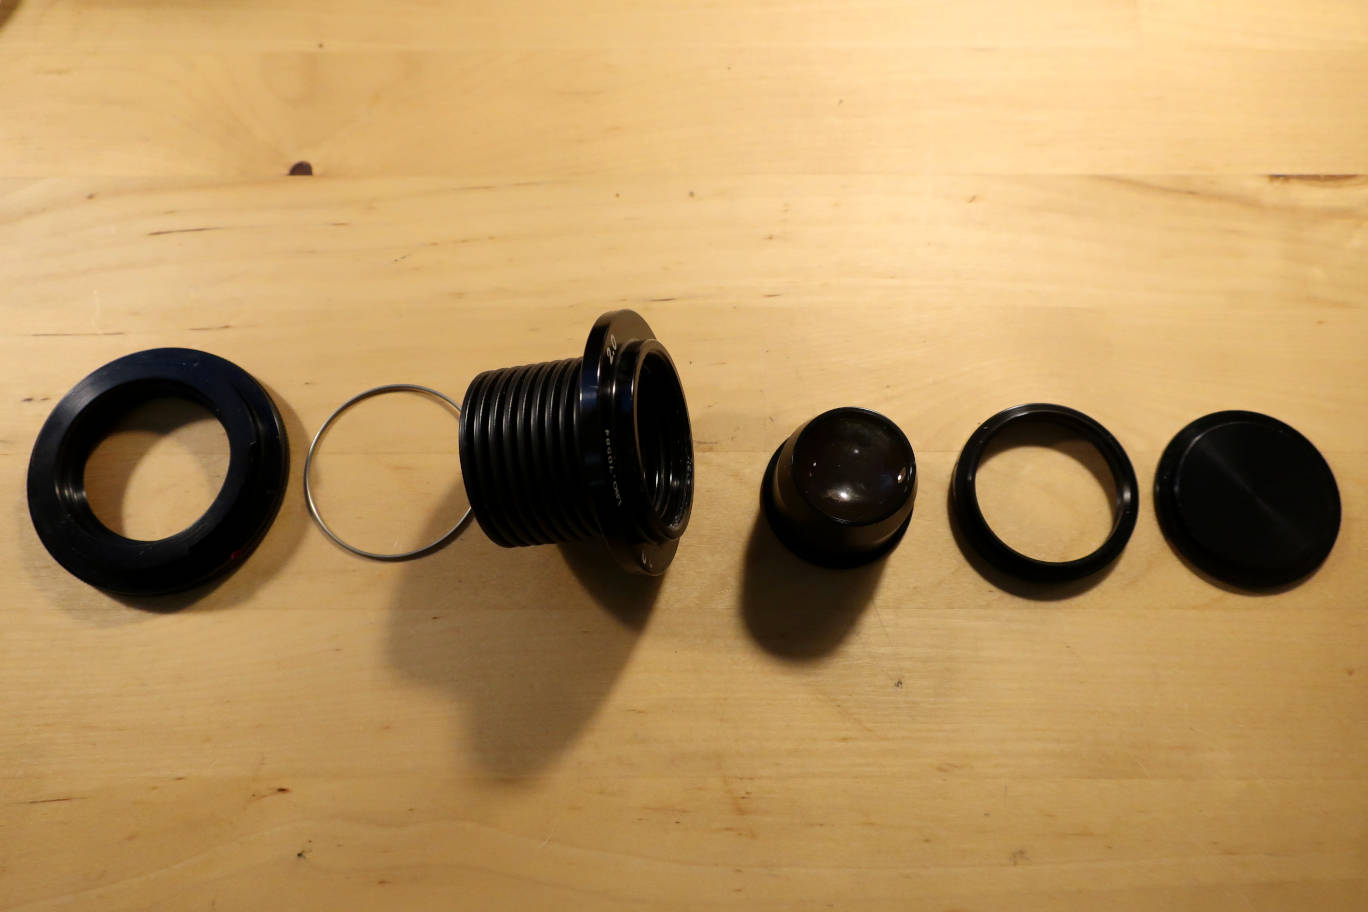
As promised, here are 2 photos of the Lensbaby disassembled. I wanted
to get the original lens out of it. Disclaimer: You may distroy your
Lensbaby, if something goes wrong!

From left to right: mount, snap ring or circlip, tube, lens insert, threaded ring and cover.
The parts from the other side.
The mount is only held by a circlip, if you take the circlip out, the
mount falls off the tube and it's easy to re-assenble. It's not
necessary to take it off if you want to take out the lens. To access
the lens, you have to screw off the first ring on the front. On my lens
I needed some brute force to move it the first mm. Once loosened, it
screws off like any accessory. As I only had plumbers' wrenches, there
were some scratches on the parts after the operation. The lens unit
itself is not screwed, its holder can just be pushed out. Now you are
free to adapt other lenses...